Guide to Ultralight Water Filters and Purification
In this guide, we take an in-depth look at ultralight water filters and purification methods, review several products, identify the essential factors to consider when planning your bikepacking hydration and water treatment system, and reveal our editors’ choices. Find it all here…
PUBLISHED Jul 5, 2023
Originally published in May 2019; updated July 2023
Sourcing and carrying water can be one of the trickiest parts of planning your bikepacking kit (and often the trip itself). Whether it’s an overnighter or a month-long international dirt-road tour, bikepackers almost always require a lot of water. Supplemental hydration is a necessary requirement when you’re exerting the high level of energy required to pedal a loaded bicycle. And water is heavy, takes up valuable real estate on the bike, and can often be hard to find. This guide aims to help simplify the process of staying hydrated while out on the bike.
Table of Contents
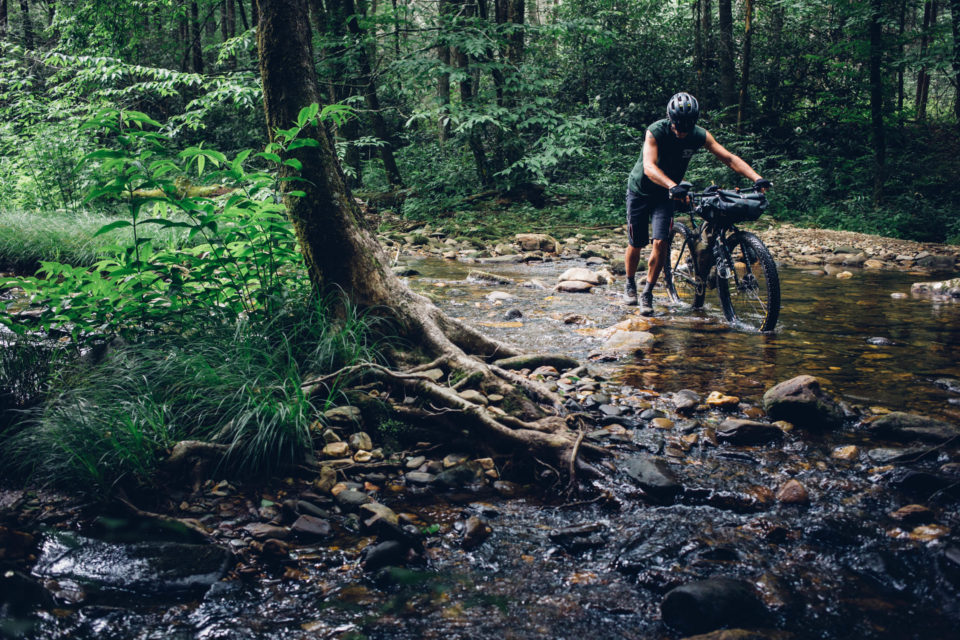
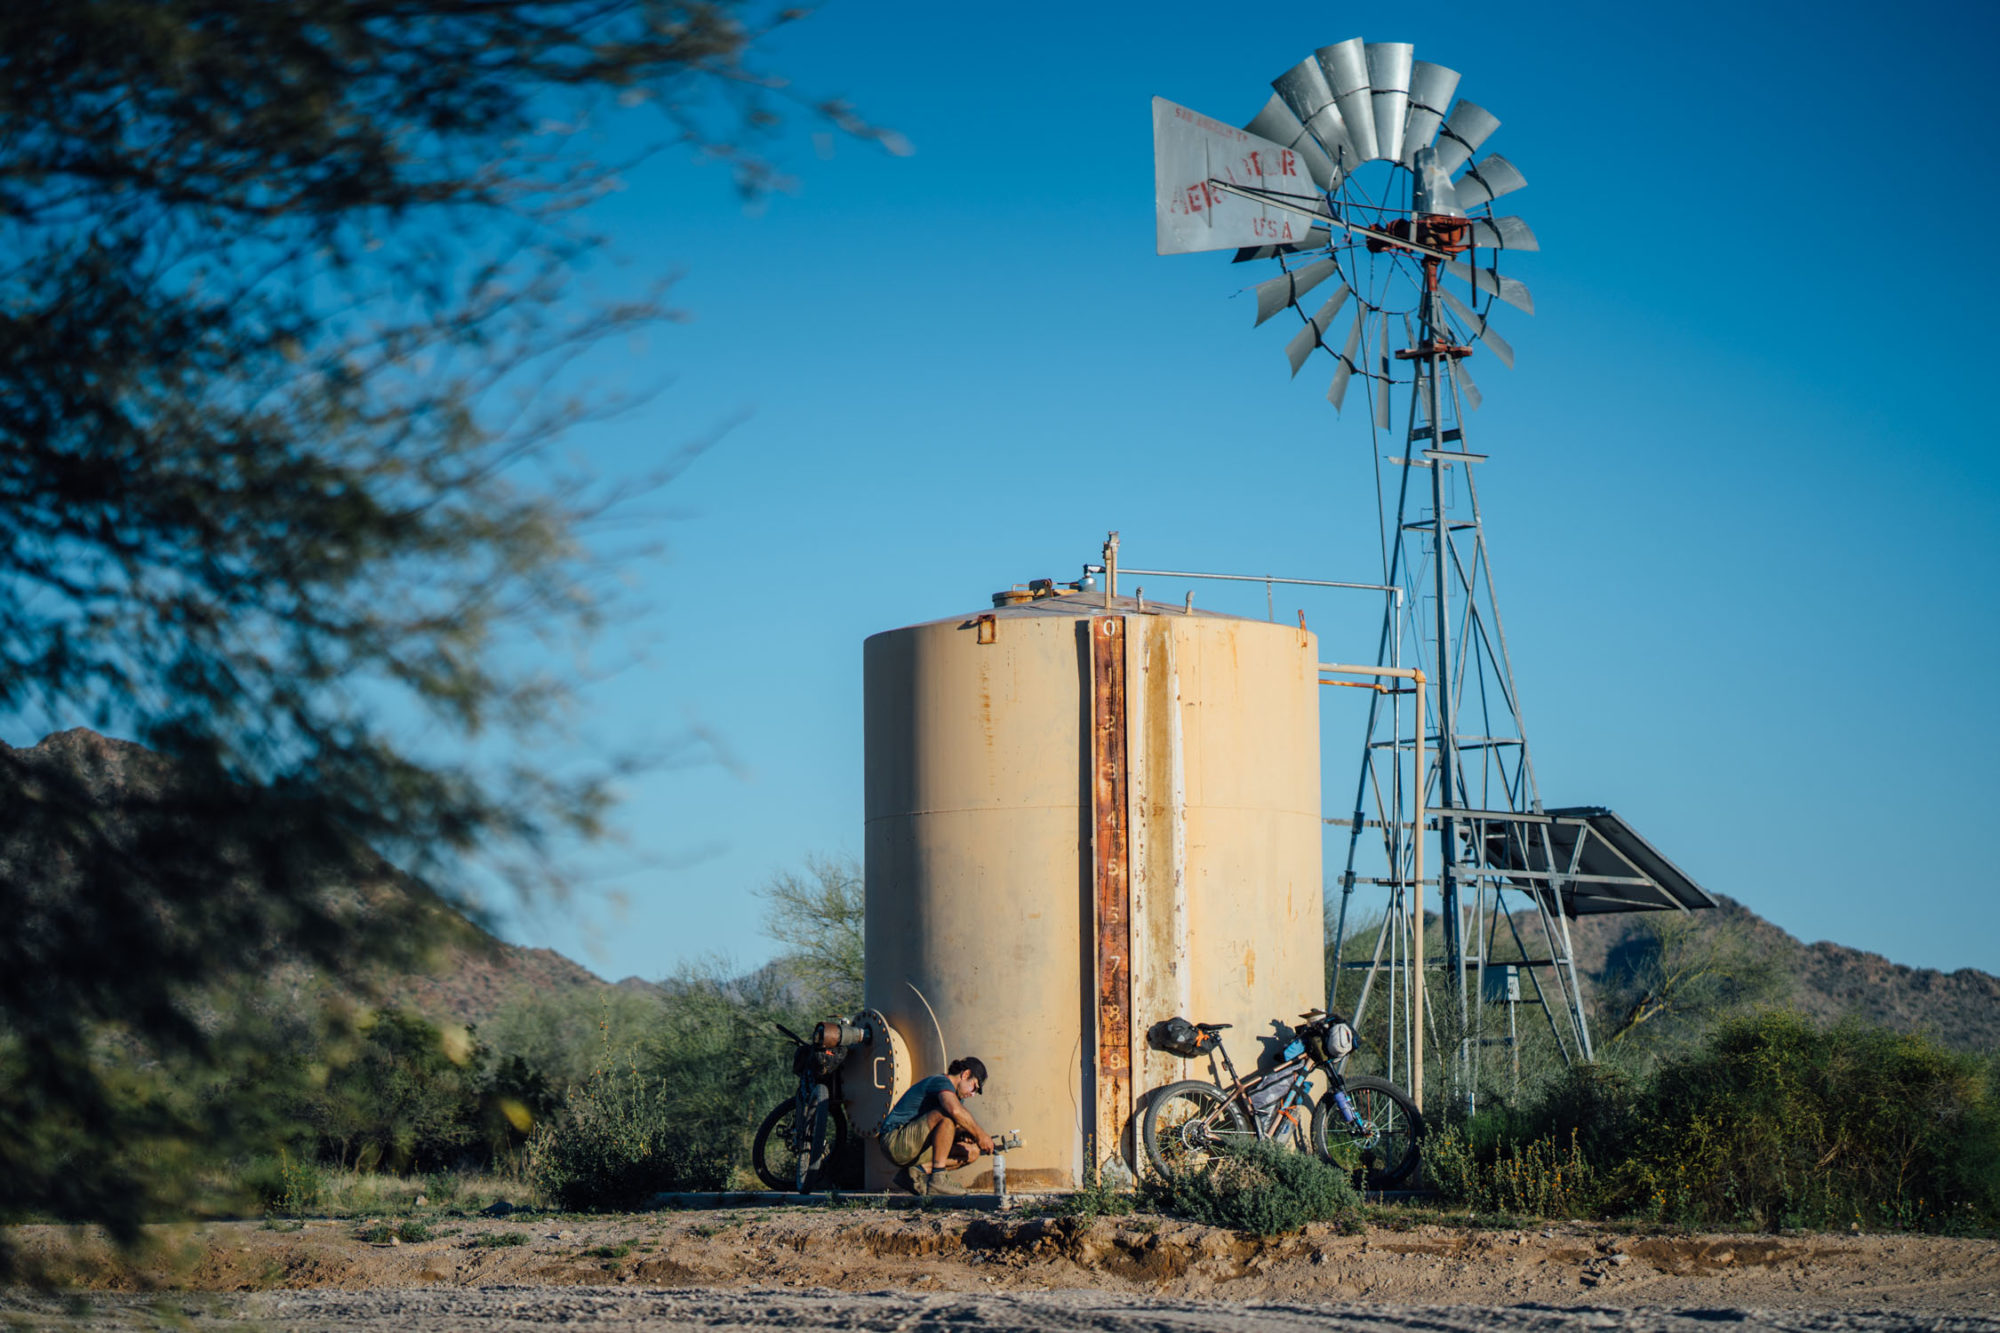
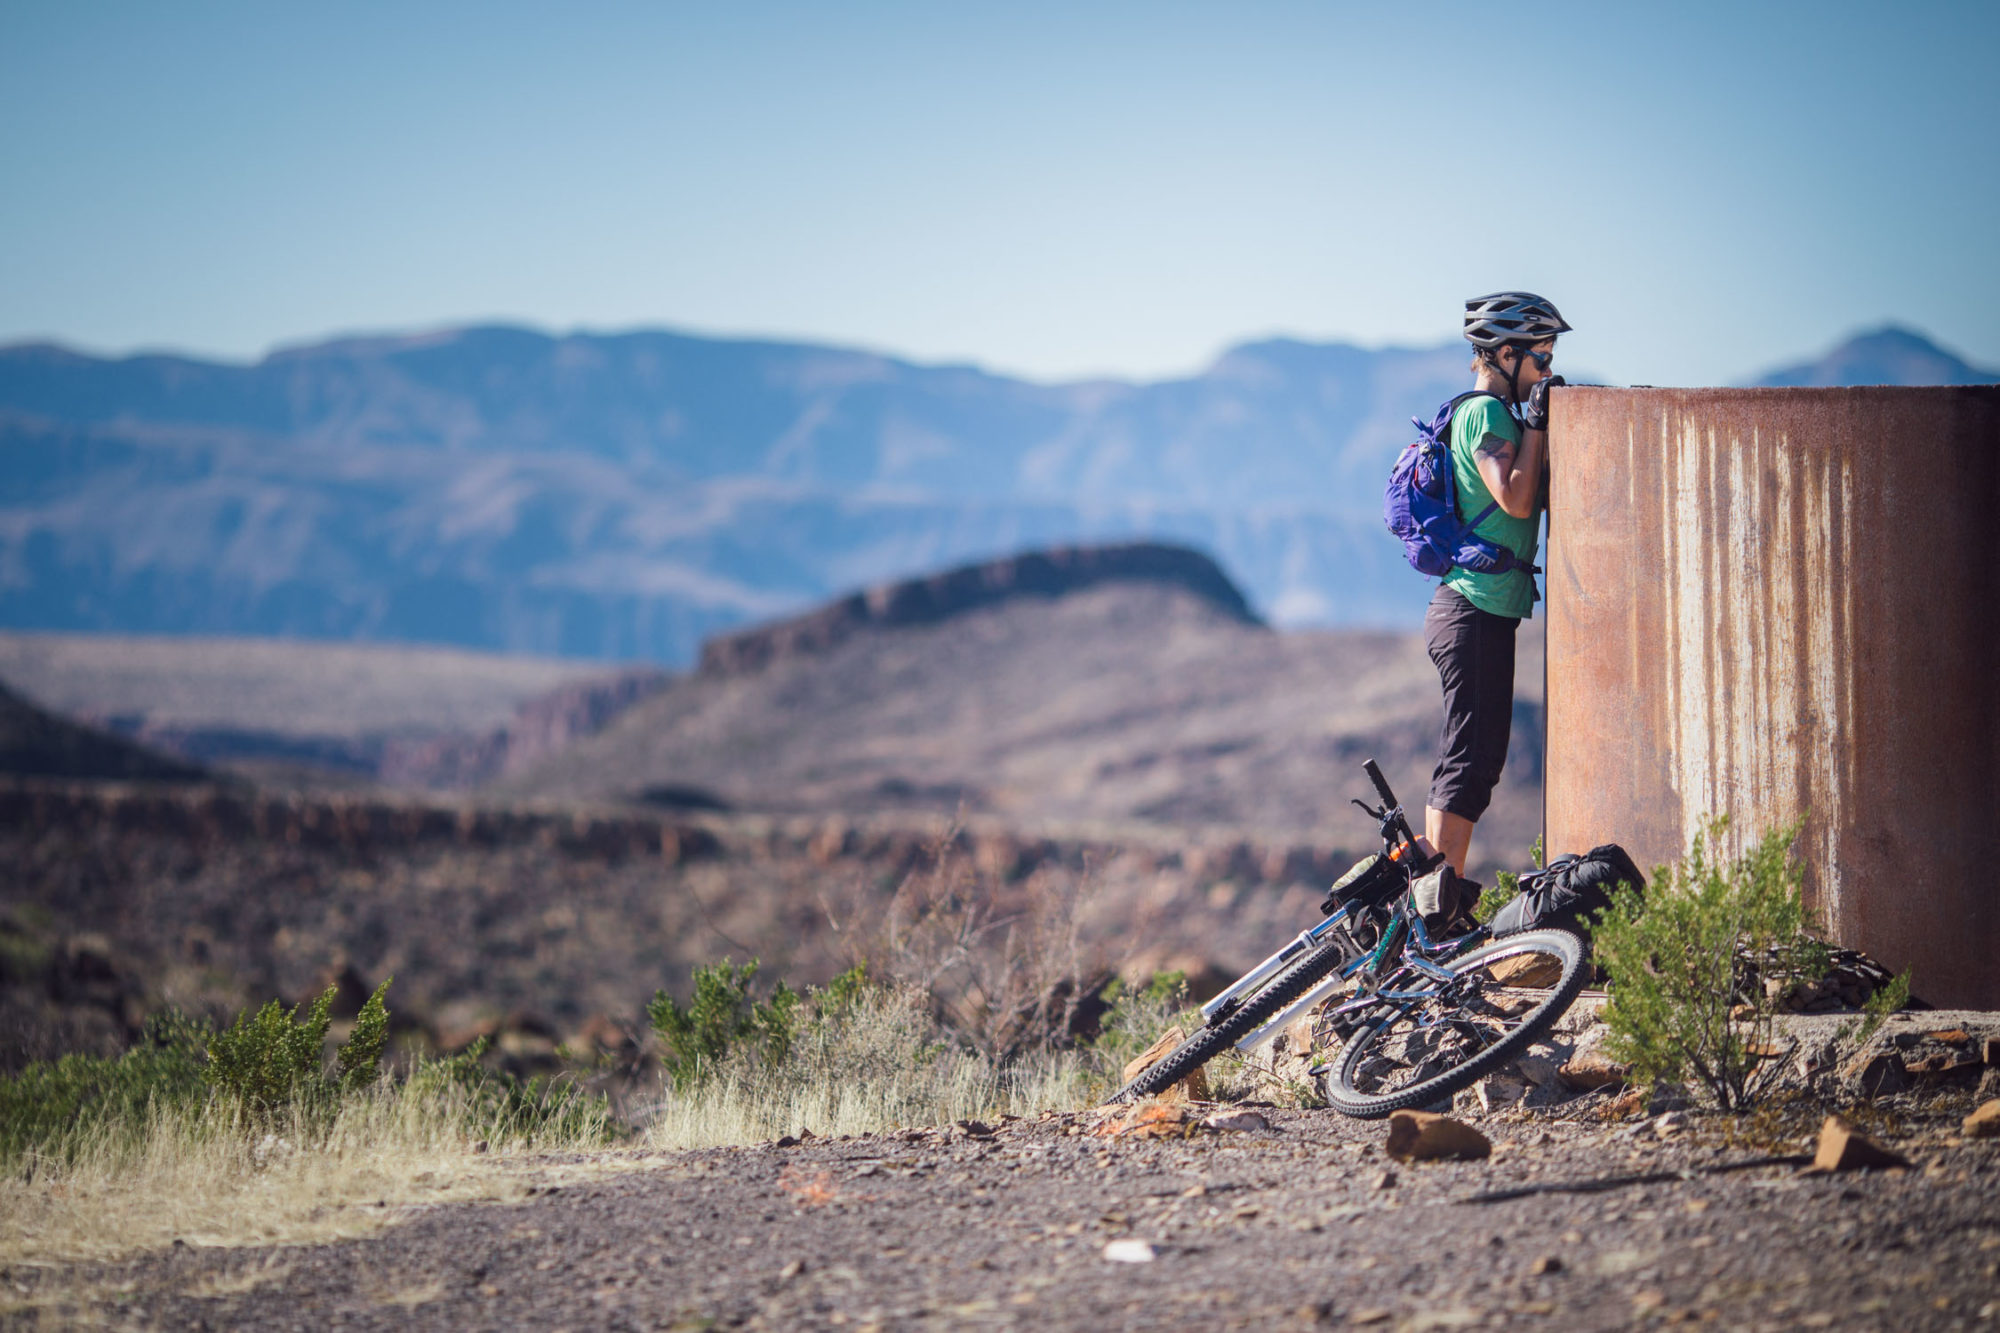
We have routes on this site where water is plentiful, such as the Appalachian Gravel Growler, which is chock full of clear springs and mountain streams. When bikepacking in this type of environment, there’s no significant reason to carry more than a liter bottle and a reliable filter. On the flip side, routes such as the Camino del Diablo in southern Arizona require a disproportionate volume of water to be carried over several days. Then, there are routes through developing nations with tap water provided by questionable infrastructure, where drinking water can be risky business.
Some water flows from piped, crystal-clear springs that can be consumed as is. Other seemingly benign water sources are swimming with malevolent microorganisms. Furthermore, many water sources may be murky with deposits of white glacial silt, green algae, or sandy brown soil. While bikepacking, you may face one or more of these scenarios, and the reality is there’s no ideal, singular product or method for treating and purifying all drinking water. Every situation is different.
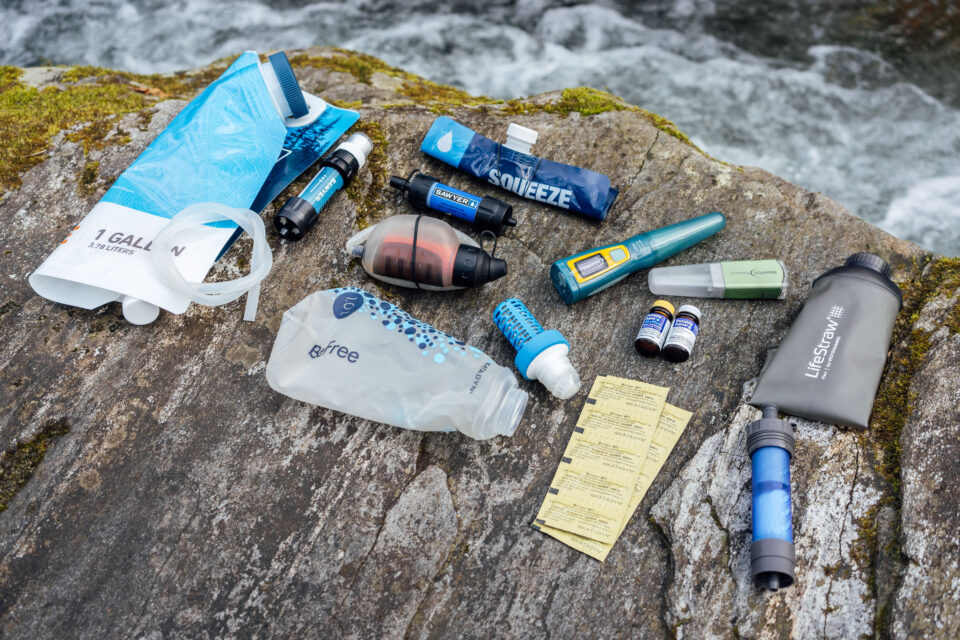
In this guide, we’ll cover several popular, lightweight, portable water treatment systems and dig into mini-reviews, as well as pros and cons of specific products. We’ll also provide a few tips we’ve gathered along the way, relevant links to information about carrying extra water, and close with our editors’ preferred water treatment methods. But first, let’s summarize the science behind water treatment and why it’s important to consider several factors when planning your kit.
The Science of Pure Water
While some people argue whether water filtration is necessary in some areas, most will agree that it’s a good practice to filter and/or treat most naturally occurring water sources, as well as many infrastructure-provided sources in developing countries. According to the World Health Organization, water-related diseases are the leading cause of death worldwide, and nearly 25% of the global population is consuming fecally contaminated water. Water can contain bacteria, viruses, and parasites, including protozoa and helminths (worms) that cause a variety of diseases in humans. Depending on the source, it can also contain a variety of toxins that are potentially hazardous to human health. Unless you are absolutely sure about the safety of a water source, there’s no reason to risk your health and ruin a perfectly good bikepacking trip. We’ve learned the hard way, on multiple occasions, both in the backcountry and when touring abroad. Here are the things that filters and various water treatment systems remove and/or treat. Each has a single-letter abbreviation, which we’ll use to reference the capabilities of various systems later.
Protozoa (P)
The most widespread water illnesses one might encounter in the outdoors are caused by protozoa. The two you’ve likely heard of are Giardia lamblia and Cryptosporidium (multiple species). Both of these parasites may go undetected in their hosts, but when symptoms do arise, the most common complaint is diarrhea. Additional symptoms may include stomach cramping, gas, nausea, vomiting, and fever. On the bright side, both of these nasty buggers are fairly large—the Giardia cyst is approximately 7-10 micrometers (μm) in diameter, while the Cryptosporidium oocysts are usually 4-6 μm in diameter (1 micrometer = 0.001 mm = 0.00004 inches)—and are easily strained and removed by most available filters. It’s important to note that Cryptosporidium is highly resistant to chlorine or iodine-based disinfectants. Chlorine dioxide, on the other hand, will treat Cryptosporidium, but that treatment takes up to four hours.
Bacteria (B)
There’s a range of bacteria that can cause problems if ingested. Escherichia coli, Campylobacter, Shigella, Salmonella, and Vibrio cholerae are a few of the more common bacterial pathogens found in water. Infection with these bacteria results in a myriad of symptoms, including diarrhea (possibly containing blood or mucus), nausea, vomiting, and cramping. Such beasties are substantially smaller than protozoa (between 0.2 to 1μm in width). Filtration is moderately effective at removing bacteria as long as one uses a filter with pores smaller than or equal to 0.3 micrometers in size, while disinfection with iodine or chlorine is highly effective at killing bacteria.
Another one we didn’t mention above is helminth infections, which are pretty nasty. If you feel so inclined (Virginia loves this stuff), do a little research on Guinea Worm Disease. Some of these infections can be contracted via direct contact with the skin, others through the bite of mosquitoes, and some through the ingestion of contaminated food or water. Luckily, the simplest of filters are effective at removing their eggs from drinking water.
Waterborne Viruses (V)
Viruses are a completely different ballgame. Water-transmitted viral pathogens recognized by the World Health Organization include hepatitis A and E, adenovirus, rotavirus, and norovirus, among others. Like the previously discussed pathogens, these viruses are most commonly associated with gastroenteritis, which can cause diarrhea as well as other symptoms, including abdominal cramping, vomiting, and fever.
It should be noted, though, that some of these same viruses can cause much more severe illnesses, including meningitis, myocarditis, and hepatitis. Preventing waterborne illnesses caused by viruses requires a different approach from those caused by other pathogens. Viruses are considerably smaller than parasites or bacteria; they’re between 20-400 nanometres in size, about 100 times smaller than most bacteria. This is beyond the capability of most simple filters.
Ultrafiltration, nanofiltration, and reverse osmosis can remove particles of 0.01, 0.001, and 0.0001 µm, respectively, so they are effective in removing viruses. Some of the larger, newer hollow fiber filters fit the bill, but their cost and relatively slow output limit their usefulness. Chemical disinfection and UV treatment are probably a more reasonable option if exposure to viral pathogens will extend beyond a couple of days. Both are effective.
Chemical Contamination (C)
Although pollution and contamination generally don’t immediately threaten your health, there are microplastics, chlorine, mercury, arsenic, and organic chemical matter such as pesticides and herbicides that most people don’t want in their system. Many filters claim to remove some of these agents, but those claims seem somewhat nebulous.
Below, you’ll find six categories of water filtration and purification and several products within each of those categories. Farther down, find tips for planning your hydration strategy, recommended water-carrying vessels, and our editors’ choices.
First, Pre-filter
We’ve consumed water from sources ranging from crystal clear springs to completely opaque, silty rivers to green livestock ponds, complete with submerged cow patties. In many places, such as desert landscapes, water can be thick with dirt. Algae, sediment, organic material, and other debris give water an unappealing look. Larger fragments can (and should) be removed by pouring water through a buff, bandana, coffee filter, or other semi-permeable membrane.
In fact, particularly dirty water can render a filter useless, and almost all filtration system manufacturers recommend pre-filtering all but the clearest water prior to using their products. This not only increases the effectiveness of the filter, it also extends its life. And, with UV treatment, filtration is required to allow light to fully pass through the water and “kill” unwanted pathogens. The best solution we’ve found is a coffee filter, as buffs and other cloths often aren’t effective with fine silt. That said, no matter the impermeability of the cloth you use, it’s no match for the microscopic world and doesn’t remove any contaminants, other than helminths, that may cause health issues.
Cleaning Water With Alum
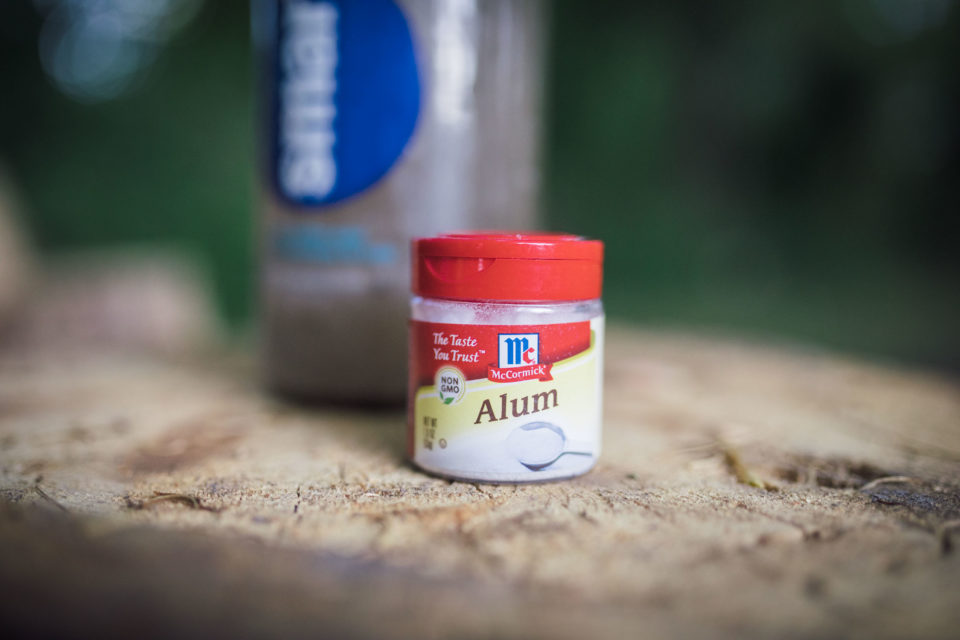
Another trick for “cleaning” dirty water is using Aluminum Sulfate, also known as alum. Alum is sold in powder form and can be found in most grocery stores (check the seasonings and spices aisle). It’s normally used for pickling, dying clothes, and tanning leather. However, it’s also a coagulant, and when mixed with silty water, it bonds with dirt particles, causing them to sink to the bottom. This leaves relatively clean water at the top of the vessel.
Here’s how it’s done—note that these measurements are approximate. First, add about 5ml (1 teaspoon) of alum to five ounces of clean (preferably warm) water. Stir in and allow it to dissolve. You can then add some of the concentrate to dirty, brown water—about one ounce (30ml) of concentrate per one liter of dirty water. Then wait about 30 minutes to an hour. The alum powder will bind to the sediment, causing it to sink to the bottom. The clean water at the top can then be poured into another vessel and filtered or treated with a UV light. Note that although alum is approved as a food additive by the US Food and Drug Administration, it may be toxic in large doses.
Boiling Water (P,B,V)
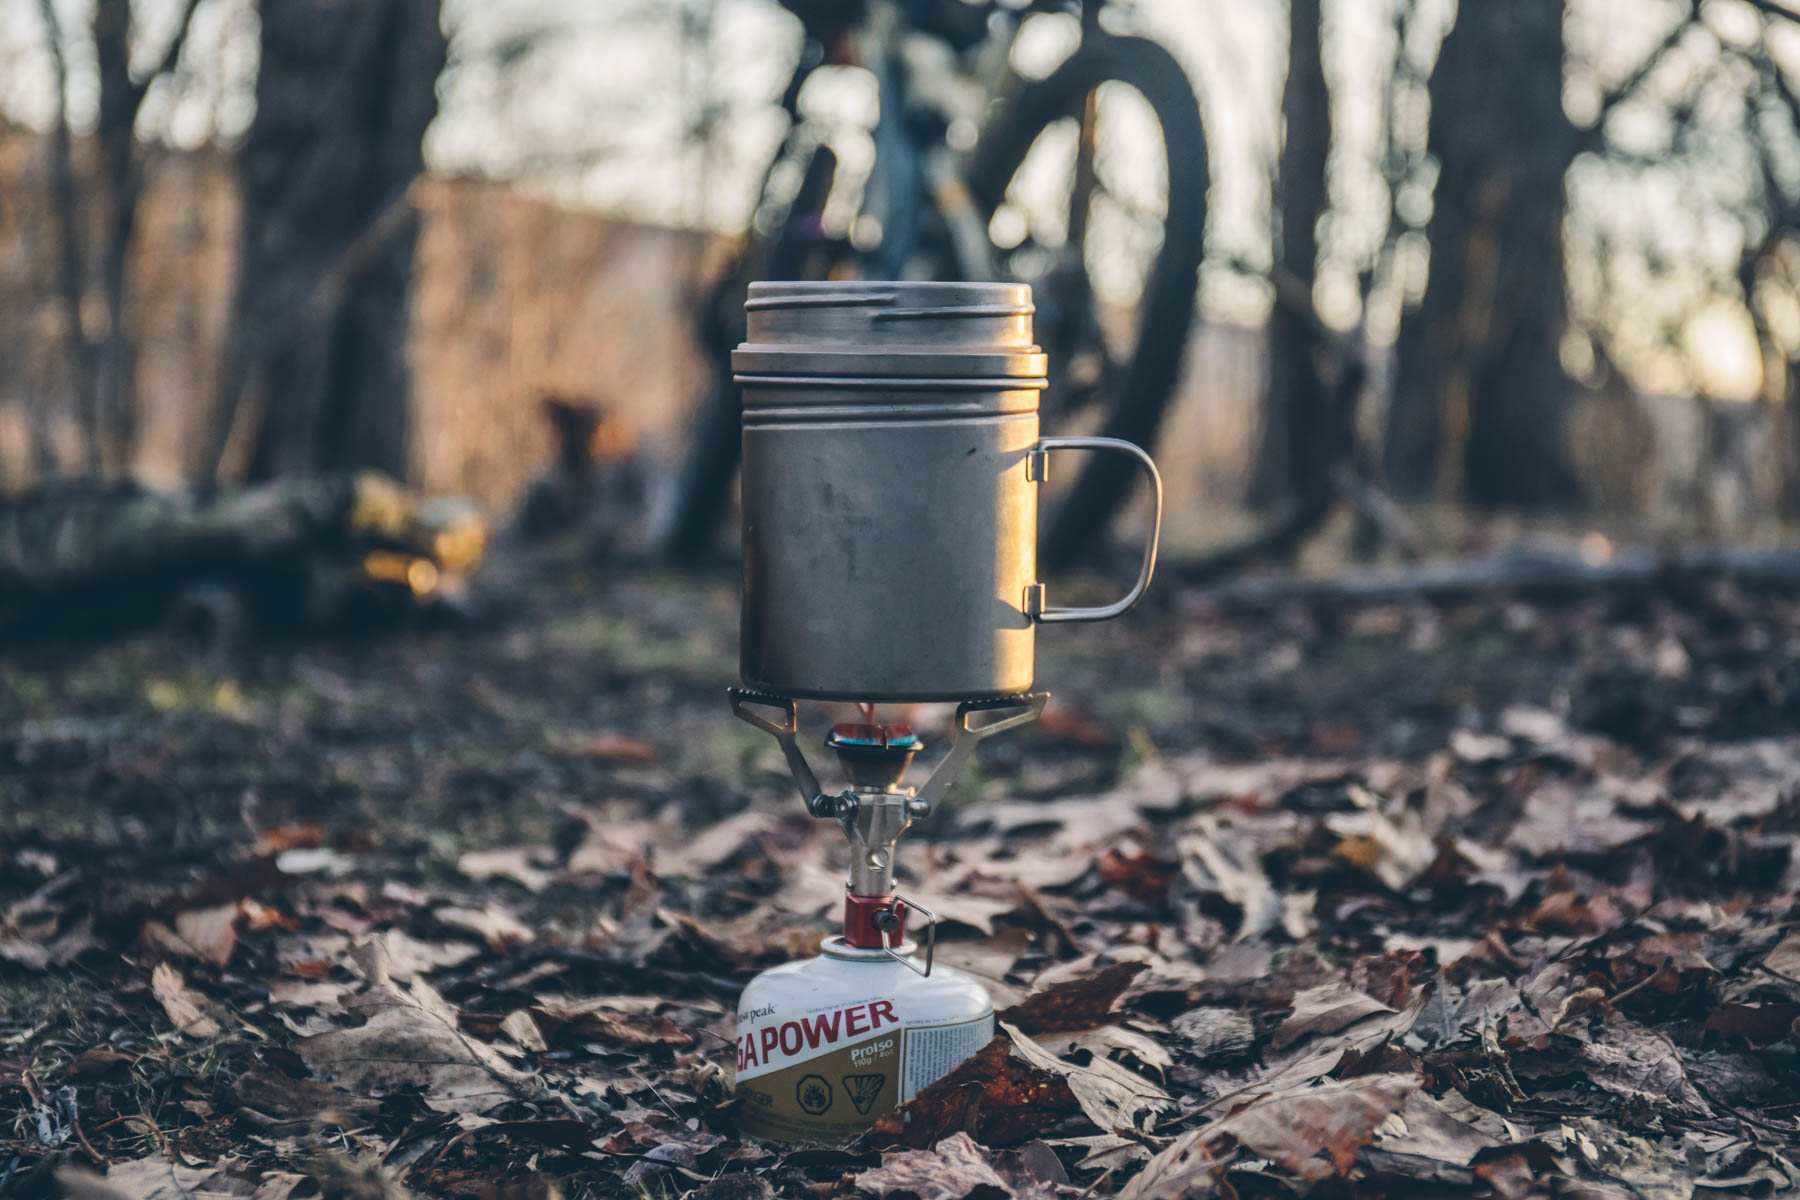
Boiling water is the most tried and true method for killing waterborne pathogens. However, it’s time-consuming and requires a fire or the use of precious cooking fuel, so it’s not the most efficient. As far as how long to boil water, it depends on who you ask. The US Center for Disease Control states, “Boiling can be used as a pathogen reduction method that should kill all pathogens. Water should be brought to a rolling boil for one minute. At altitudes greater than 6,562 feet (greater than 2000 meters), you should boil water for three minutes.”
Pros
- Kills all waterborne pathogens
- Doesn’t require extra filters or pre-filter supplies
Cons
- Time consuming and inconvenient mid-ride
- Campfires are not sustainable and/or dangerous in many regions and don’t follow LNT guidelines
- Requires extra fuel if using a stove
Chemical treatment (P*,B,V)
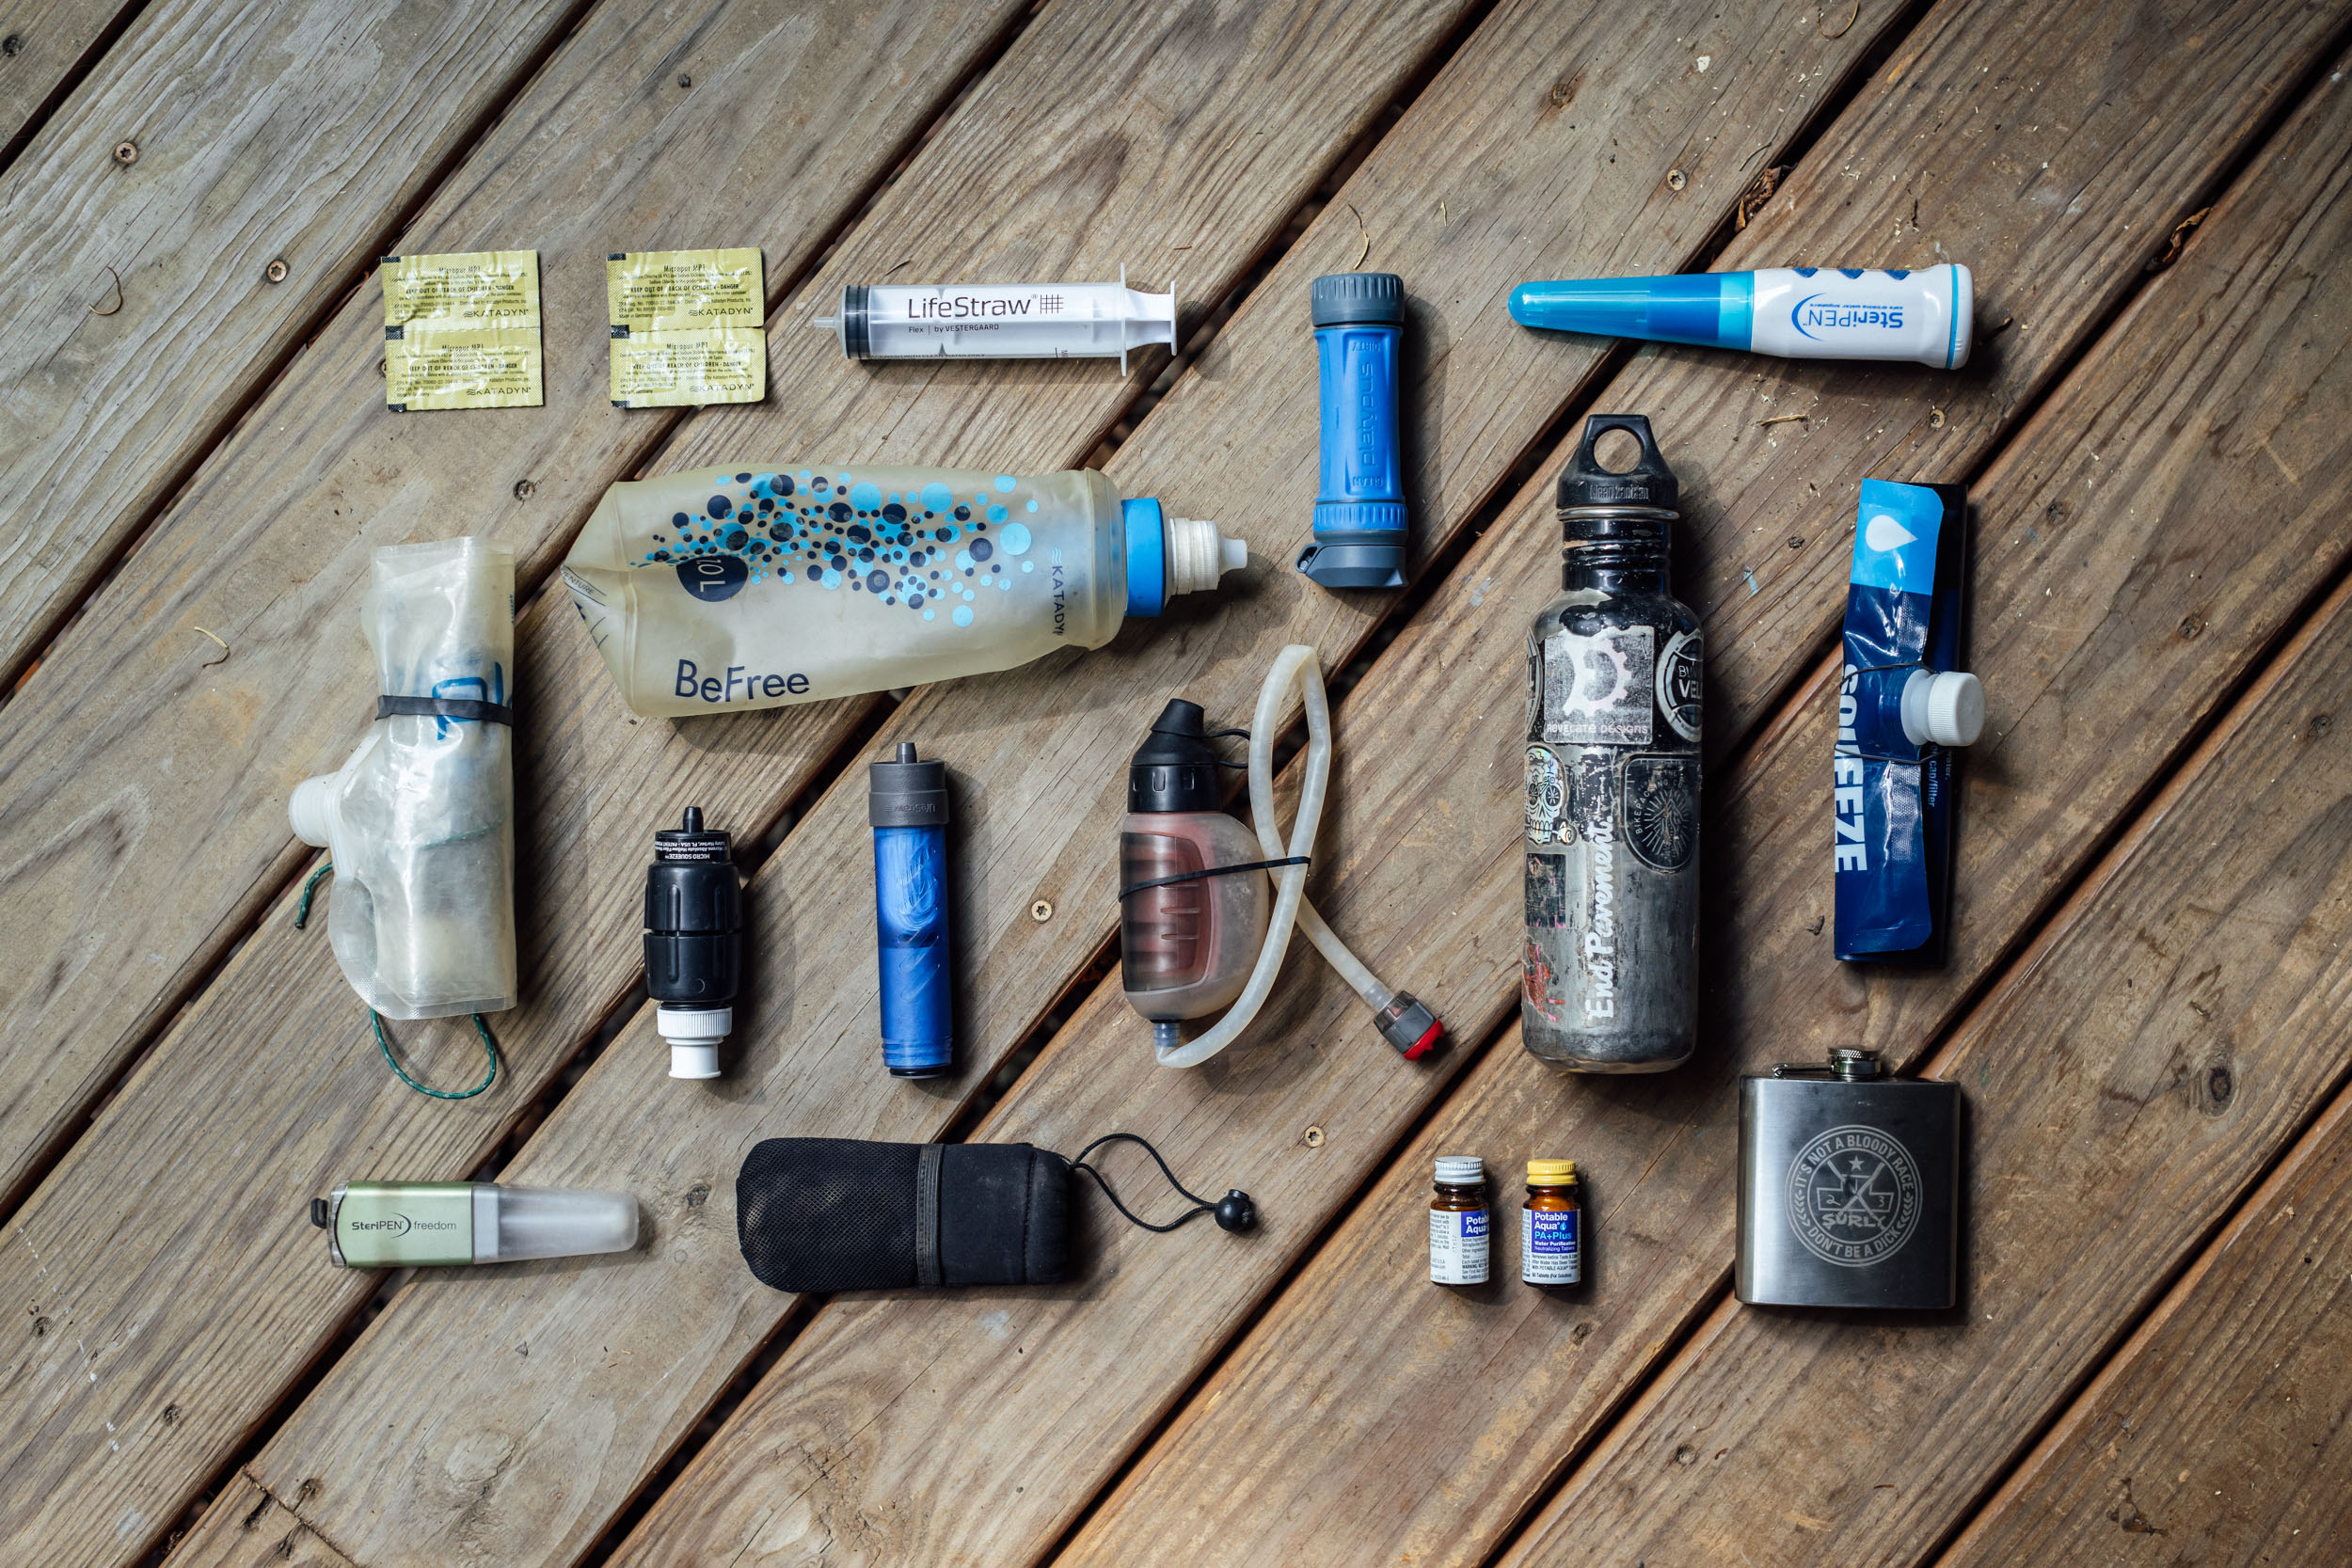
Chemical drops and tablets are also pretty effective against most waterborne critters. However, not all chemical treatments are equally effective against all microbes. The time it takes to treat different pathogens varies. Some of these treatments also leave a funky taste. Here are the pros and cons followed by three solutions that we’ve used and like.
Pros
- The lightest weight of all the options listed here
- Can purify dirty water and doesn’t necessarily require extra pre-filter supplies; hazy water does contain substances that can neutralize disinfectant, so treatment will require higher doses or longer contact time
- Takes hardly any work to use; just wait time
Cons
- Not immediate; you must wait a while before drinking
- Most don’t work on Cryptosporidium cysts
- Don’t remove contaminants, such as microplastics or metals
- Some have unpleasant taste
- Iodine can have health consequences for certain populations**
-
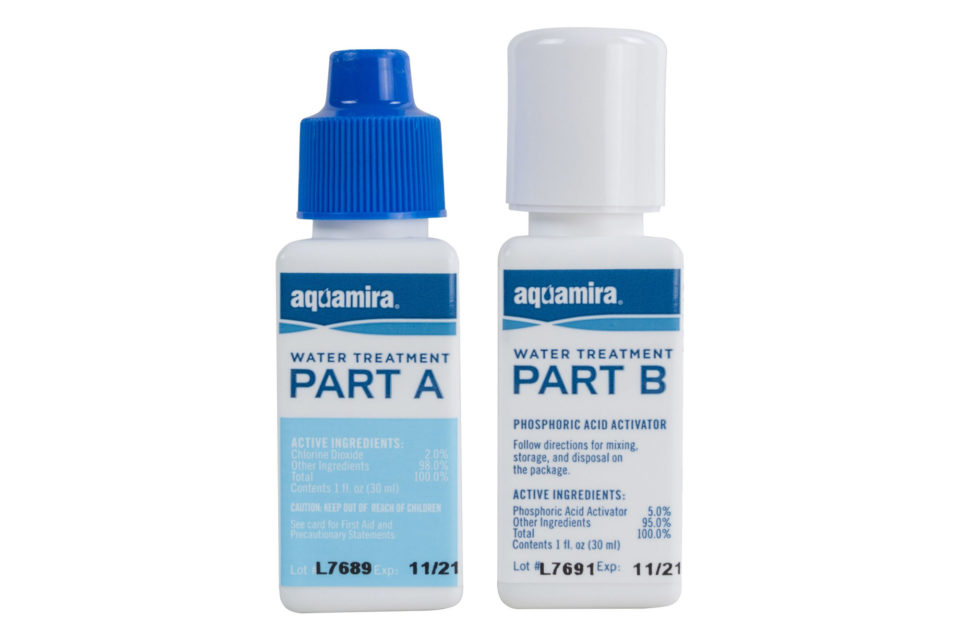
Aquamira (P,B,V)
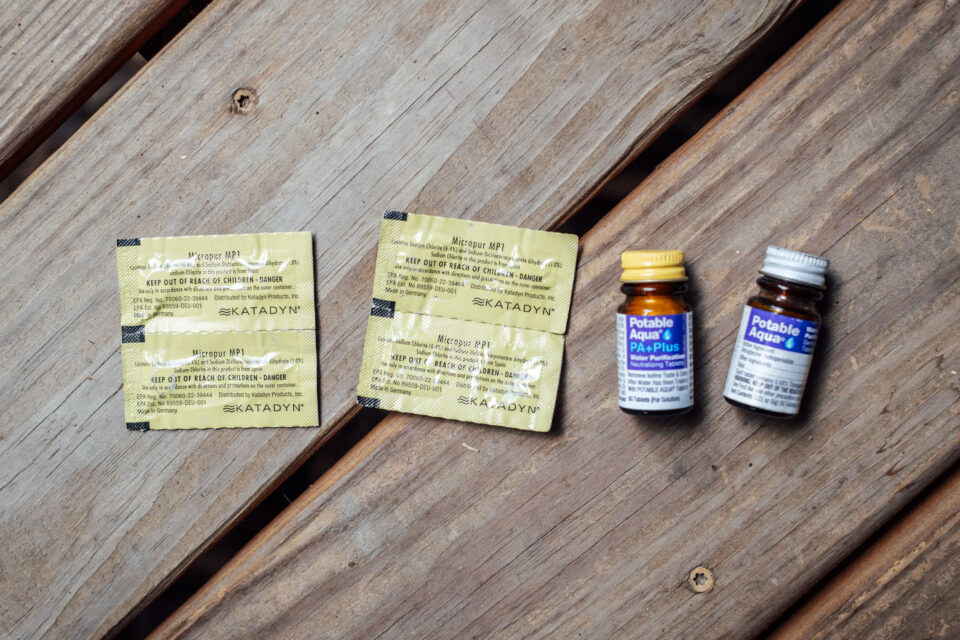
Aquamira is one of the most popular chemical treatments on the market and uses Chlorine Dioxide to treat water—the same chemical used by municipal water treatment plants to kill a variety of waterborne pathogens since the late 1940s. It kills bacteria and doesn’t affect the taste of water as much as iodine. Aqua Mira comes in a small, lightweight, part A/part B kit (two 1oz plastic bottles) that has the potential to treat up to 30 gallons of water in the field. However, before drinking the treated water, a significant wait time is required. Aqua Mira suggests waiting 15 minutes to kill Giardia, bacteria and viruses. An additional 3 hours and 45 minutes are required to kill Cryptosporidium.
26 grams / Treats ~113 liters / $14.95 at REI
-
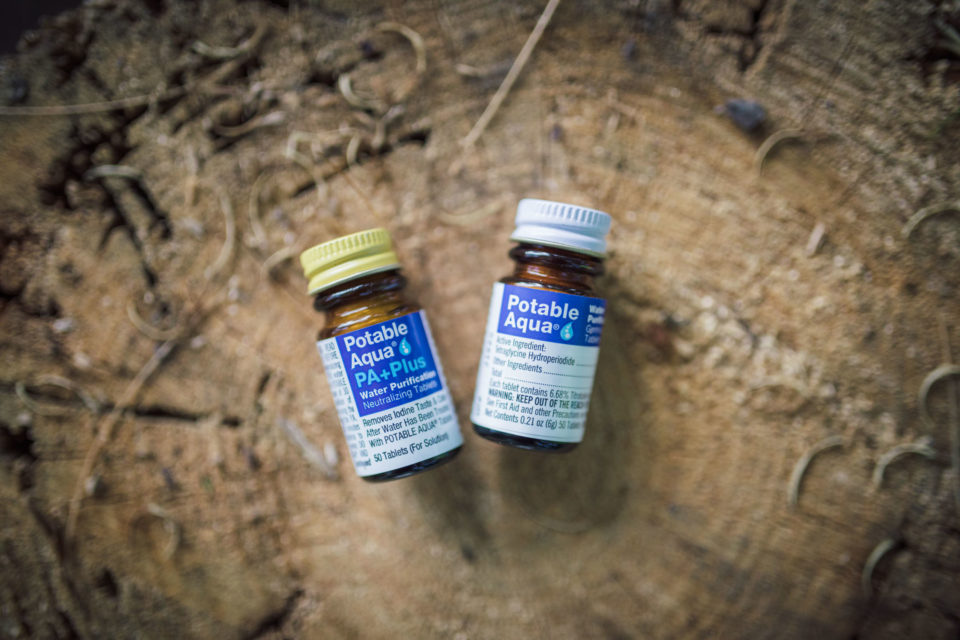
Potable Aqua—Iodine (P*,B,V)
For many folks, the taste that iodine imparts on water makes it a no-go, but I’ve been using the tablets for years while backpacking and bikepacking. Potable Aqua makes a two-part version that has a moderately effective taste neutralizer, although dried lemon or a hydration tablet seem to work a little better. *Iodine makes most water suitable for drinking, although it’s not effective against Cryptosporidium. Each bottle includes 50 tablets; two iodine tablets treat approximately one liter of water. Potable Aqua tablets require that you wait at least 30 minutes before drinking the treated water. **Important: Water that has been disinfected with iodine is NOT recommended for pregnant women, people with thyroid problems, those with known hypersensitivity to iodine, or continuous use for more than a few weeks at a time.
15-100 grams / Treats ~25 liters / $11.95 at REI
-
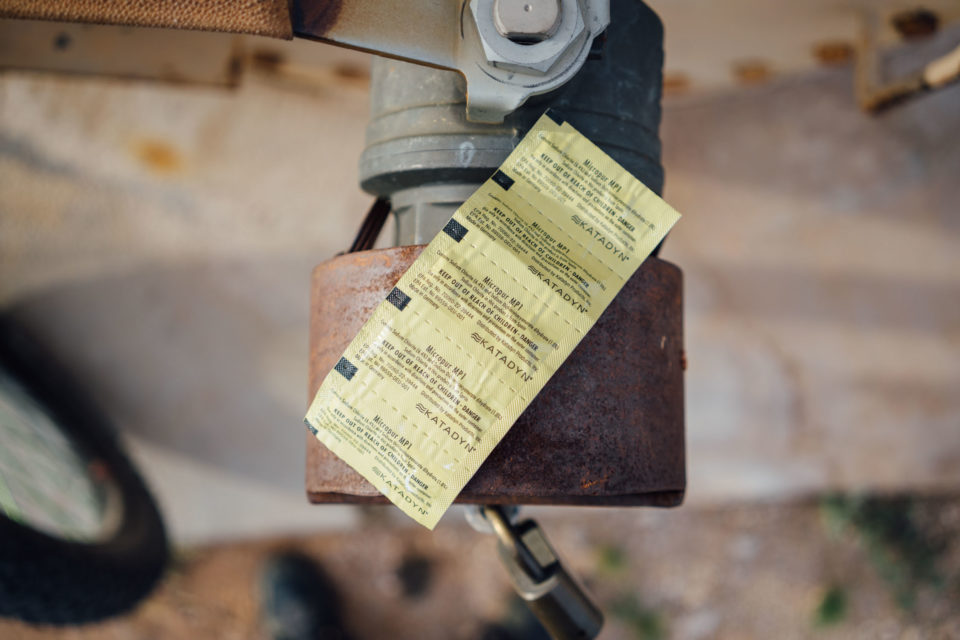
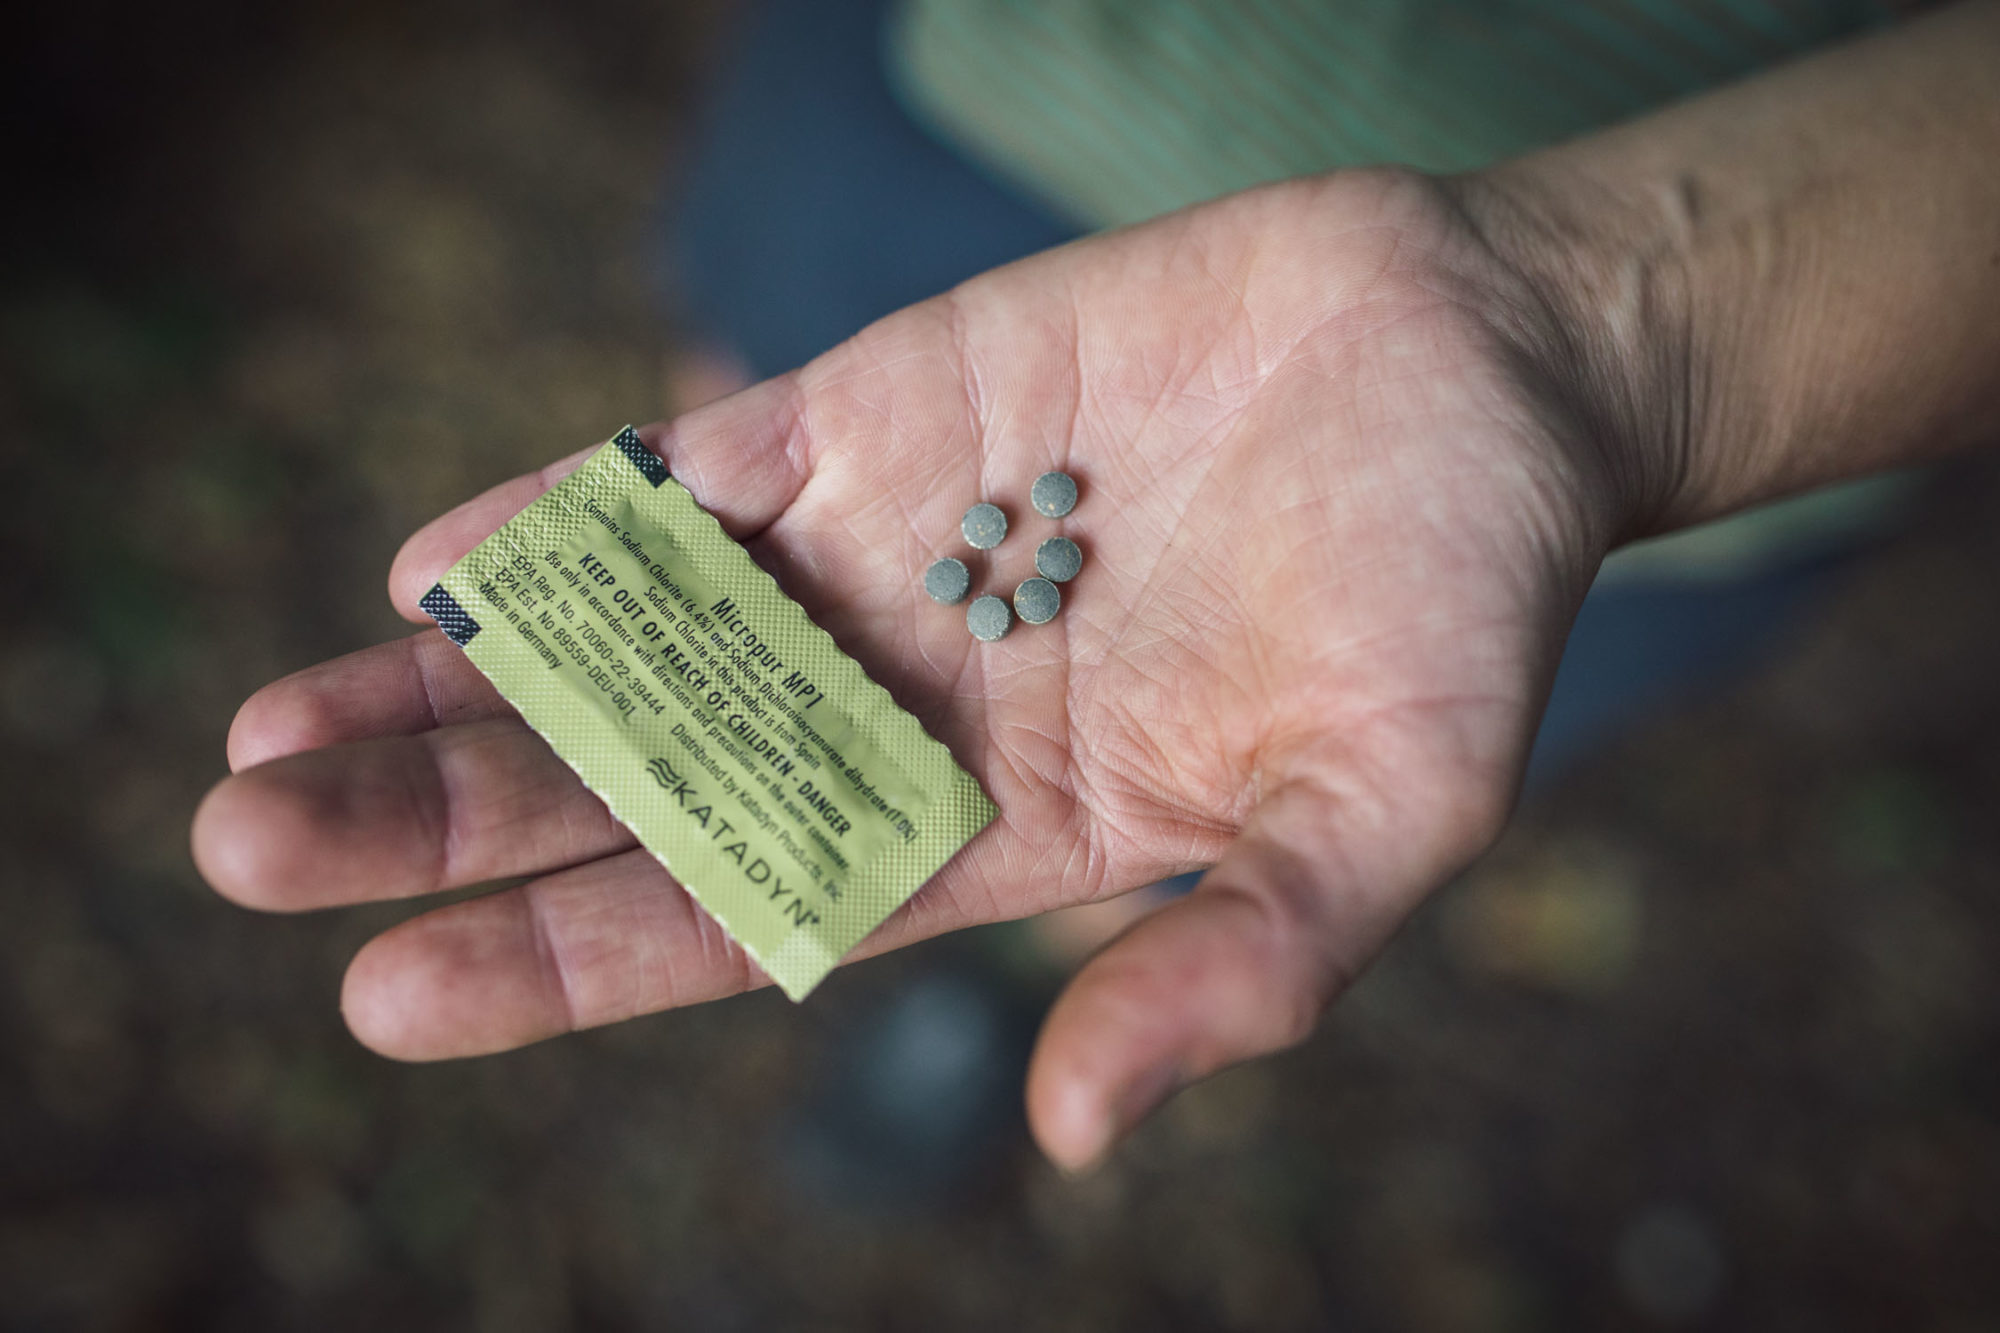
Katadyn Micropur Tablets (P,B,V)
I used these tablets for the first time over the winter in Arizona. Overall, I’m quite impressed. They are tiny, weigh nothing, and don’t impart a strong taste, just a slight chlorine/disinfectant flavor. Like Aquamira, Katadyn Micropur tablets are based on the chemical treatment used in most municipal water supplies and are effective against viruses, bacteria, Giardia, and Cryptosporidium. The wait time varies depending on what microbes you’re battling—viruses and bacteria are killed in 15 minutes, Giardia in 30 minutes, and Cryptosporidium in four hours. Each tablet is individually wrapped and sealed in minimal packaging (although it is plastic), and purifies about one liter of water.
~15 grams / Treats ~30 liters / $13.95 at REI Backcountry
Squeeze/Bag Filters (P,B,C)
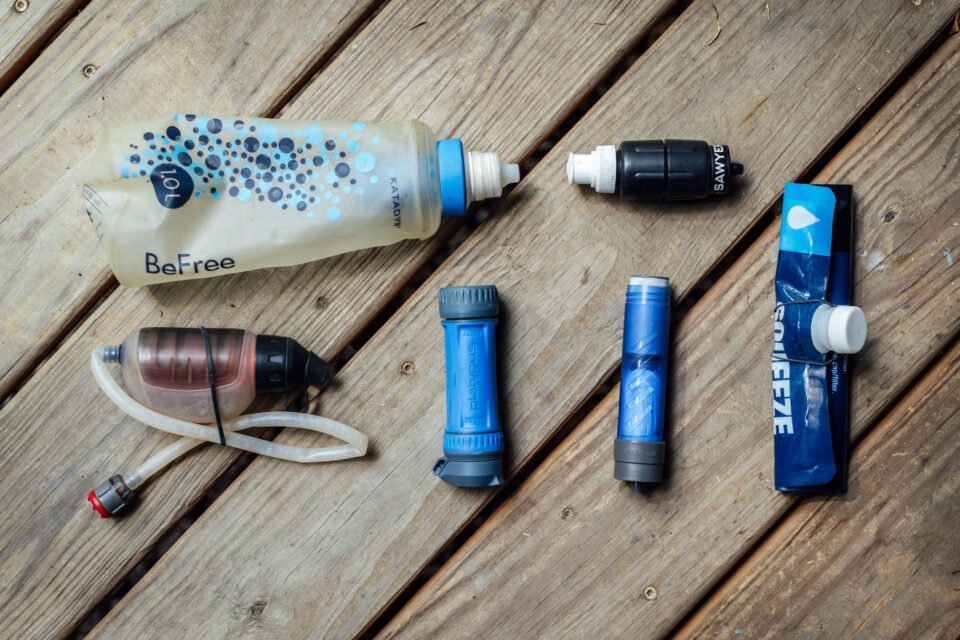
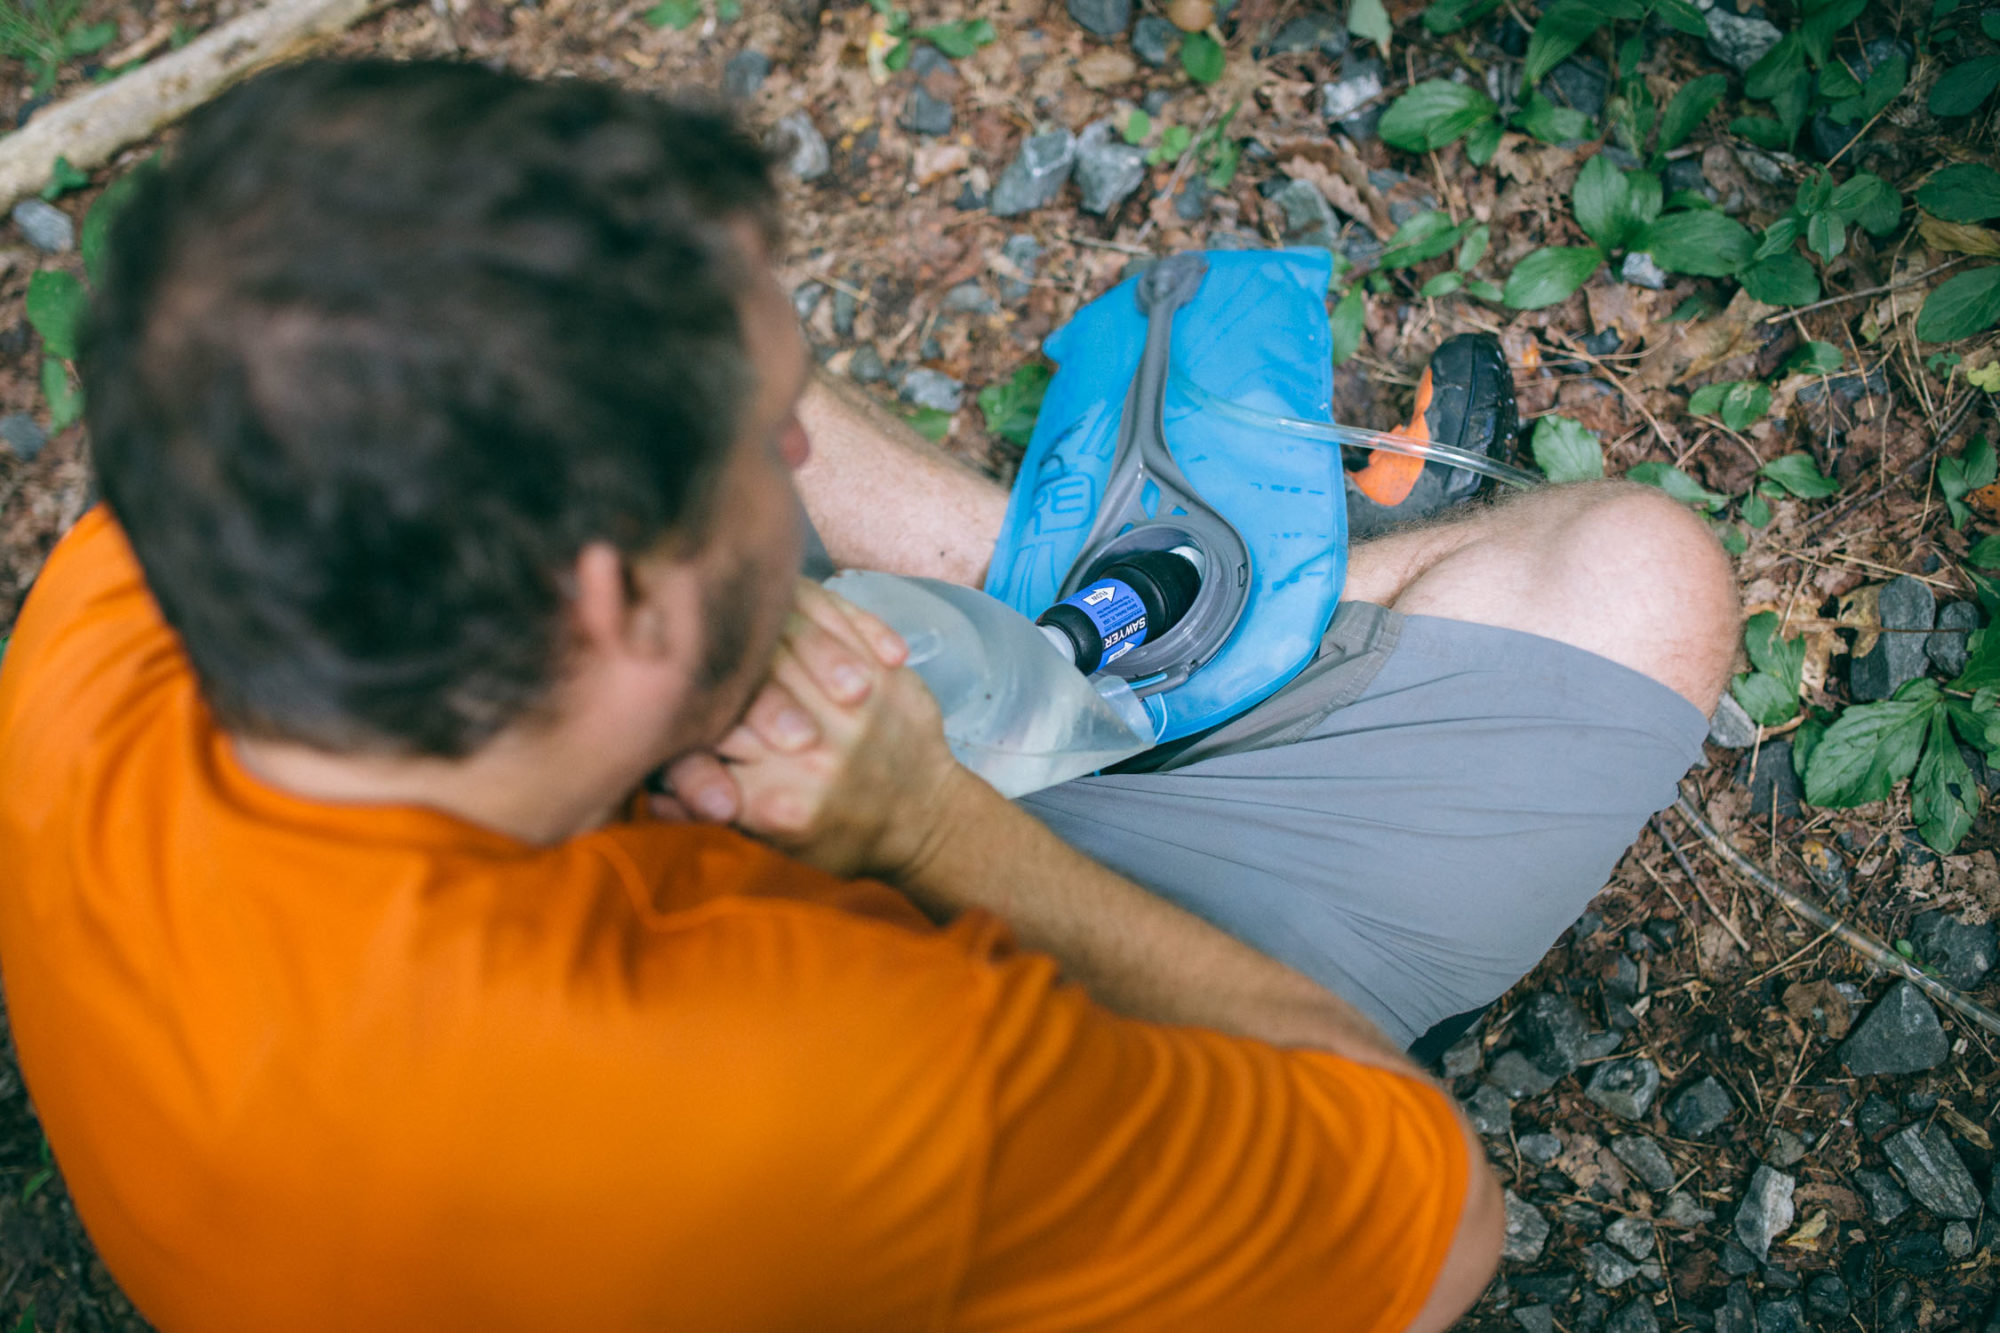
Squeeze/bladder bag filters are the rising stars in the world of lightweight and compact backcountry water treatment devices. Simply put, they are easy to use, fairly effective, small, and lightweight. That said, filters clog, and while most can be backflushed to clear particulates, they generally don’t last as long as companies might claim. We’ve tested several models and performance/speed varies.
Pros
- Very lightweight and collapsible
- Squeeze bags can also be used for auxiliary water storage
- Fairly fast, and water is immediately drinkable
- Most remove some contaminants (plastics, metals, etc.)
Cons
- Can become clogged and extremely slow; lifespan is usually less than what companies claim if you filter anything other than perfectly clear water
- Don’t kill viruses
- Freezing temperatures ruin these filters. In case of freezing weather, keep the filter in a pocket, sleeping bag, or otherwise close to your person.
-
Sawyer Squeeze
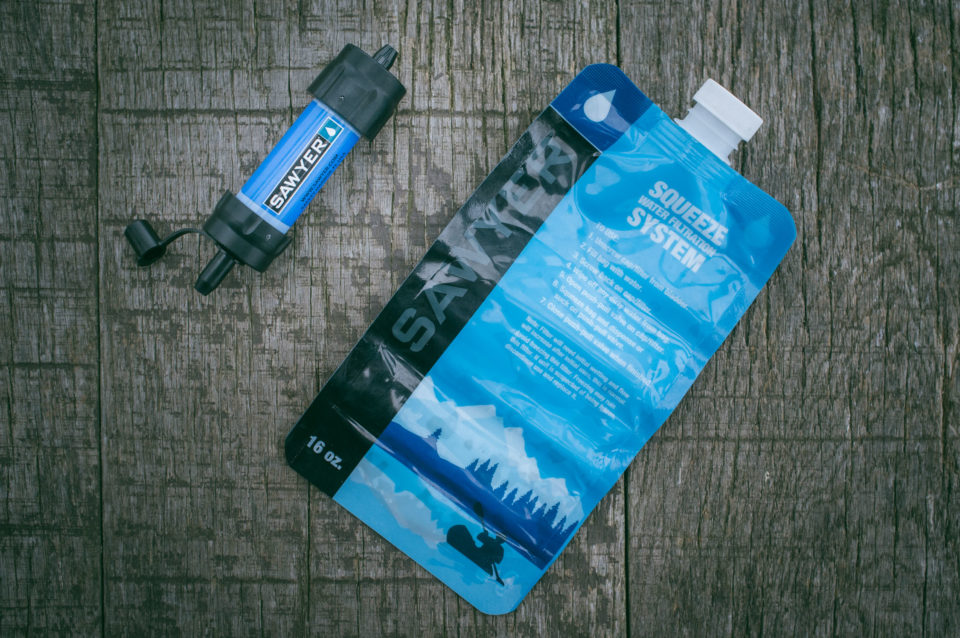
Sawyer Squeeze has been around for a while and has been my go-to water filter for years. The bags can be iffy—I have had a few break and spring leaks—so carry a couple (I prefer the larger 64oz version). The filter itself is reliable, lightweight, compact, and inexpensive. It is not immune to clogging, however. Make sure water filtered through it is fairly clear. Also, on longer trips, it’s handy to bring along the included syringe to backflush it from time to time. Unfortunately, like other hollow-filament-based filters, it can’t be kept in sub-freezing temps once it has had water in it; freezing water inside the hollow fibers can destroy the membrane. The Sawyer Squeeze systems use a 28mm threaded top, so they can also be screwed onto a standard disposable bottle. While you can get the mini for a few dollars less, we like the regular version as it seems to maintain a better flow for longer.
~85 grams / Treats up to 100,000 gallons / $41 at REI
-
Hydrapak 28mm and 48mm Filters
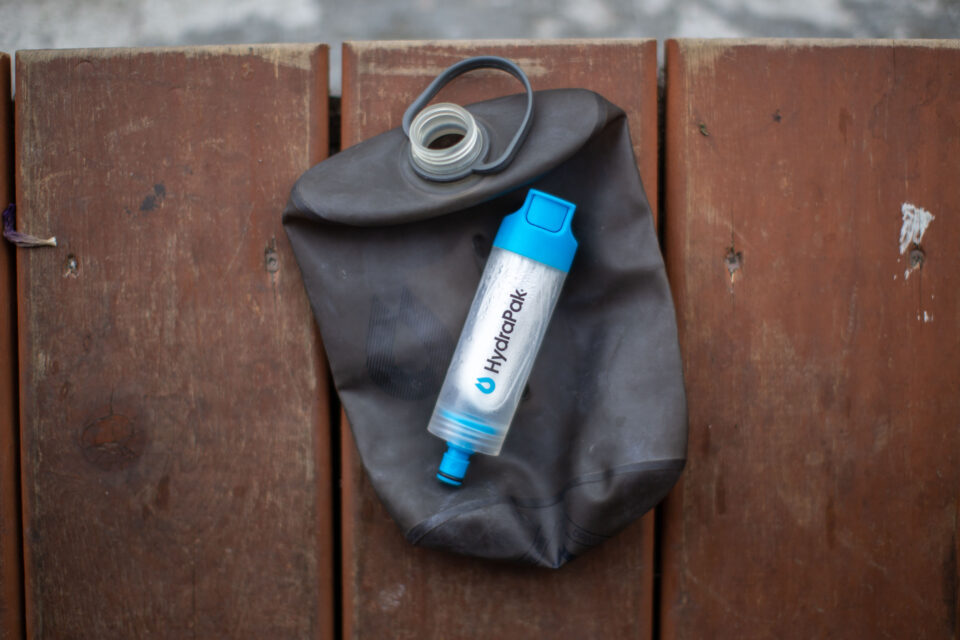
The Hydrapak 28mm and 48mm Filers are thread-on style squeeze filters designed to work seamlessly with their other hydration products, including flasks, reservoirs, and reservoir lines, and each filter effectively removes common waterborne bacteria and protozoa from approximately 1,500 liters of water at a rate of >1L per minute. The 42mm Filter Cap ($35) is compatible with all HydraPak 42mm opening products, including running flasks, Seekers, and Flux bottles. The 28mm filter kit ($40) threads directly onto bottles and flasks or connects to Plug-N-Play systems used on reservoirs and water storage containers. Read the full review here.
47-57 grams / Treats up to 1,500 liters / $35-$40 at REI
-
Katadyn BeFree (1.0L)
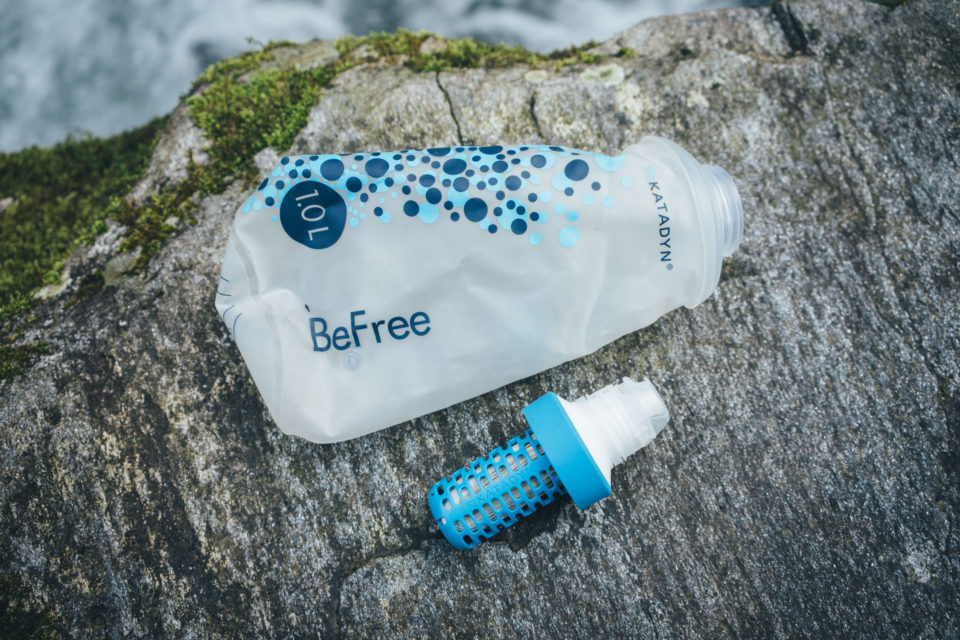
I was introduced to the Katadyn BeFree on the CDT in 2018 and really liked it. It has a one-liter soft rubberized bottle with a 42mm threaded top that fully collapses and a screw-in filter with a spout. You simply fill the bottle, screw in the filter, turn it upside down, and squeeze. When it’s new or clean, water flows through the filter at a really good rate, faster than the Sawyer. Katadyn claims it filters up to two liters of water per minute. To clean, you shake or swish the filter in clean water to remove debris. All that said, that was someone else’s that worked really well on that trip, but I had a problem with a new one as it clogged pretty fast in the field.
UPDATE: I’ve now used this filter over several seasons, and it’s become my favorite for day rides, overnighters, and week-long bikepacking trips, alike. It’s fast, reliable, and as long as you swish it in clean water after a few uses, it keeps working extremely well.
62 grams / Treats up to 1,000 liters / ~$40 at REI Backcountry
-
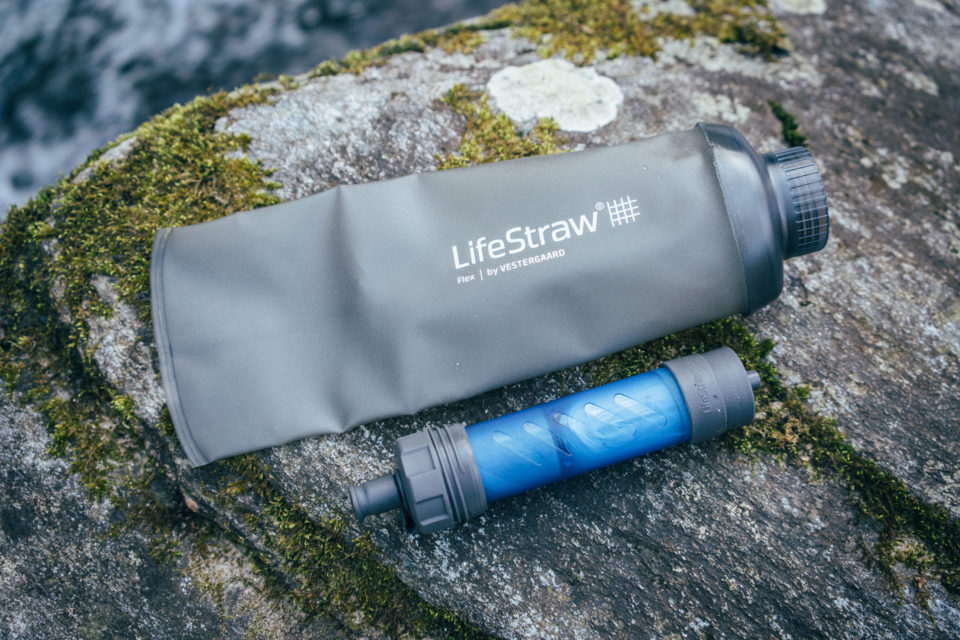
LifeStraw Flex (now Peak Squeeze)
Similar to the Sawyer, the LifeStraw Flex Dual Filter system can be used in a variety of ways: by itself as a simple straw filter, as an inline filtration system, as a gravity filter, or with the included 650ml rubberized bag as a squeeze filter. What makes the Lifestraw Flex special is its two-stage filter. Like the others listed here, it has a hollow-fiber membrane that filters to 0.2 microns. It also has an activated carbon filter that reduces organic chemical matter such as pesticides, herbicides, heavy metals, and VOCs. Both of these filters are easily replaceable. The membrane filter has a lifespan of about 500 gallons, and the carbon filter is good for about 25. Another thing that makes the lifeStraw Flex interesting is the interface. The filter has two threaded sides, one that’s threaded externally for the bag (or it can also be used with the 28mm CNOC Vecto 2L) and another side that has interior threading to mate with a standard plastic water bottle. All that said, my big complaint with the Lifestraw Flex is that it’s really slow, the slowest of the three listed here. I also wish the included bottle bag was closer to 1L.
110 grams / Treats up to 500 liters (25 with carbon) / $34.95 at REI
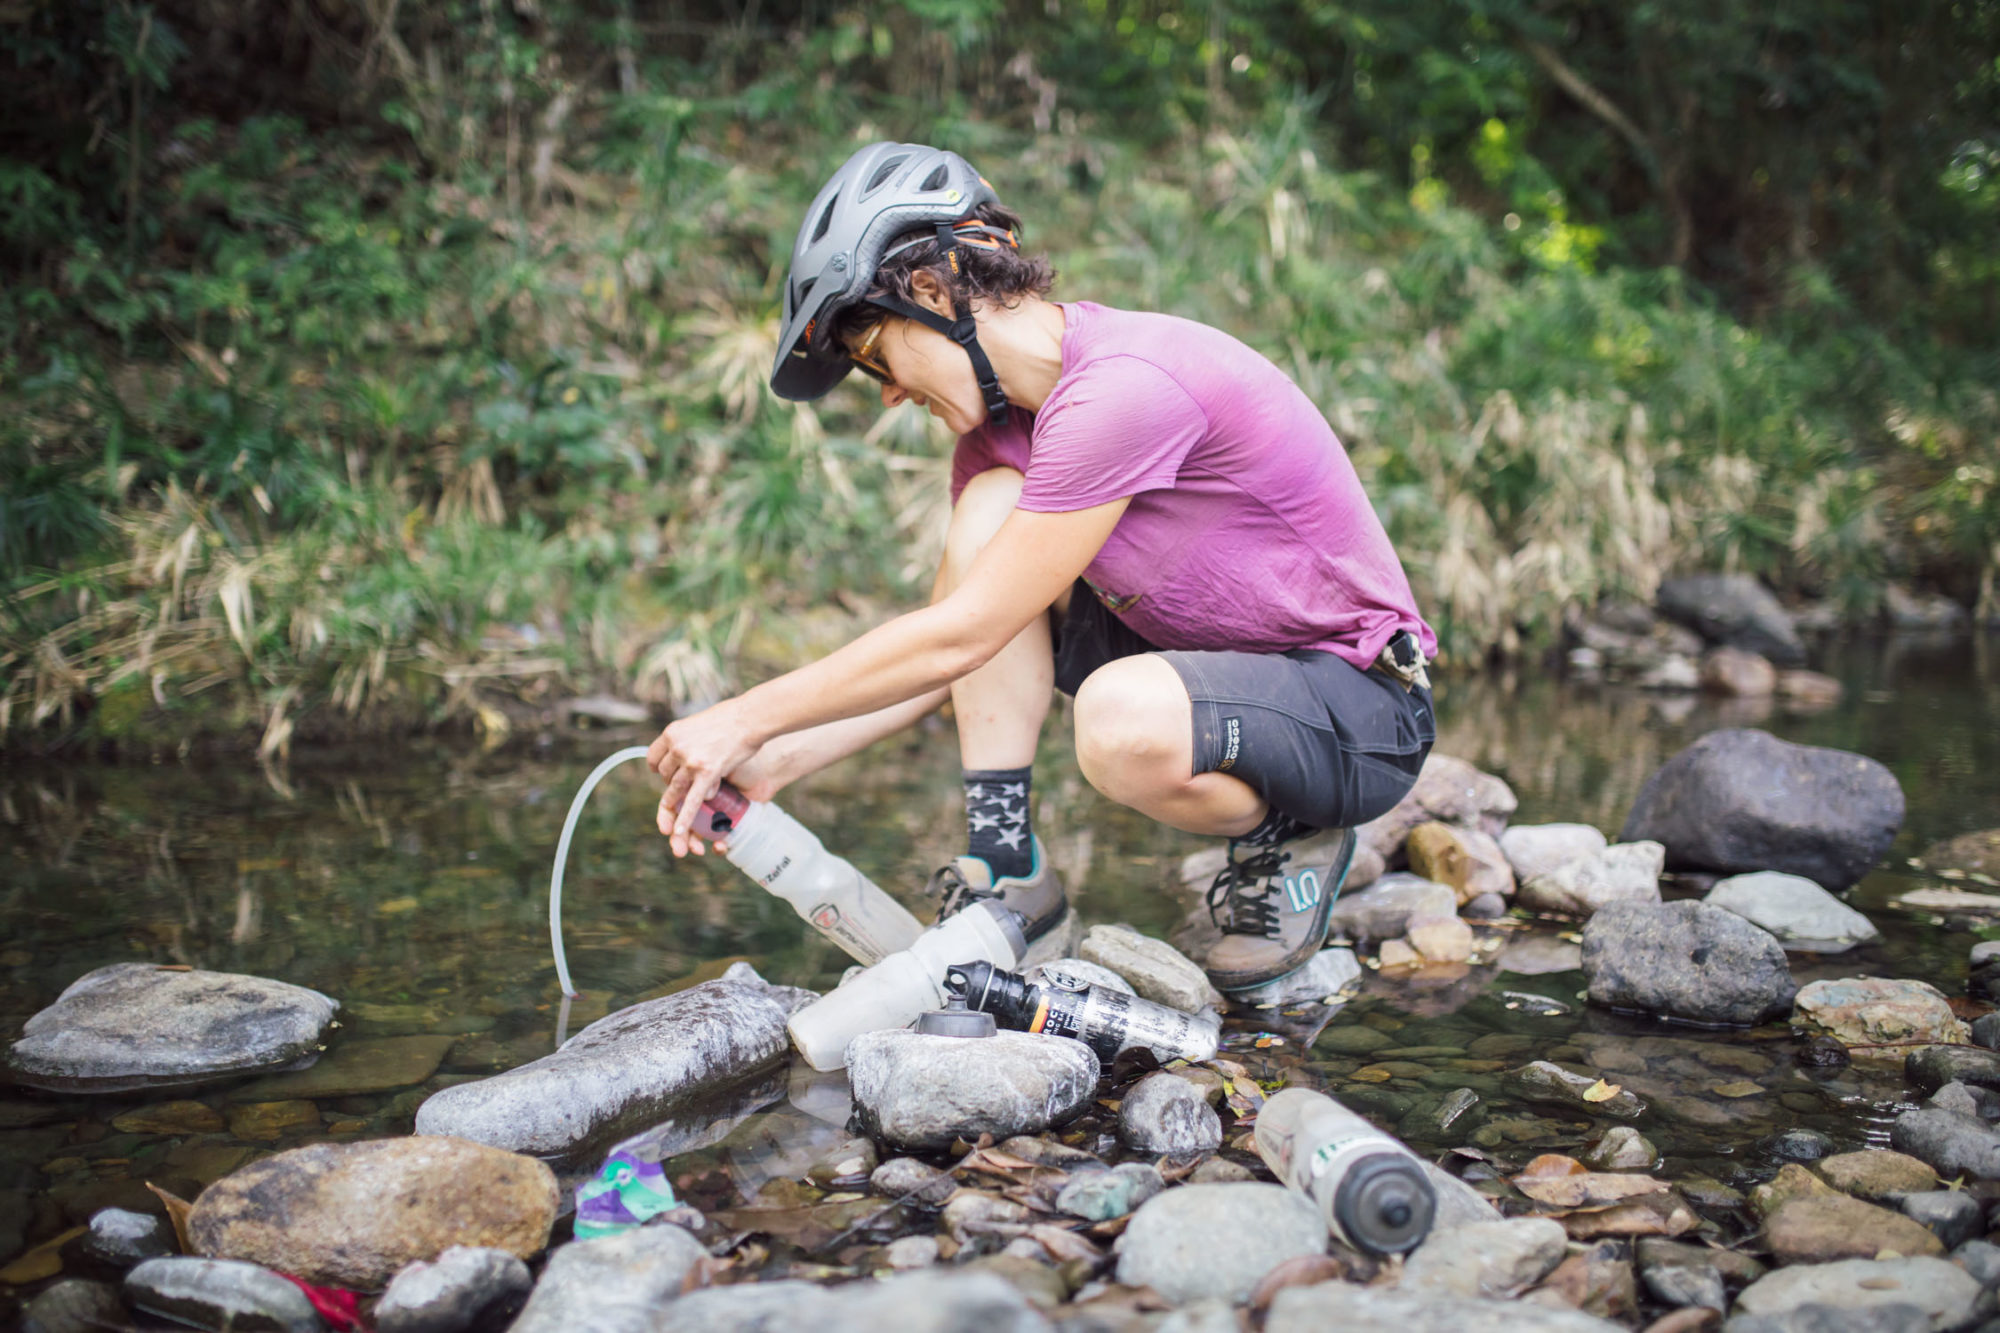
Pump Filters (P,B,C,V*)
Generally speaking, pump filters have been around a lot longer than most. However, they’re bulky, heavy, and not really ideal for bikepacking. However, they work well and are generally faster and perhaps a bit more reliable than squeeze filters.
Pros
- Fairly fast, and water is immediately drinkable
- Most remove some contaminants (plastics, metals, etc.)
Cons
- Can become clogged and slow
- Many don’t kill viruses
- Big, generally heavy, and not as bikepacking-friendly as other solutions
-
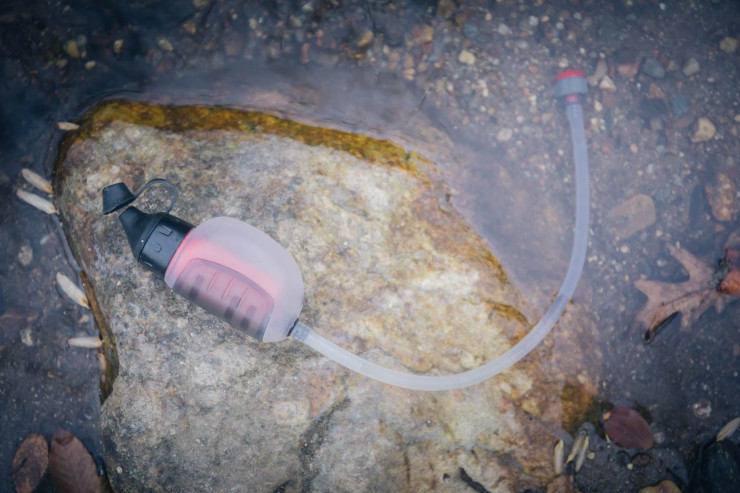
MSR TrailShot
The MSR Trailshot is hardly a pump filter in the traditional sense of the category. However, it doesn’t really fit into any of the other categories. It also doesn’t match with the pros and cons above. Given its size (smaller than a beer can), weight (153g), price ($50), and speed (1L per minute), the TrailShot seems like the perfect system for jaunts where there are plenty of water sources to dip into. Upon first use, it was clear that this product is a winner for such exploits. However, on our Trans-Cuba ride/route, where the hydration requirements were high and the water sources variable, the TrailShot’s flow rate was gradually reduced to a trickle, albeit partially due to ignorance on our part. We didn’t get sick on that trip, but care must be taken to keep the TrailShot flowing well. MSR claims the filter cartridge lasts up to 2,000 liters, but I am pretty sure ours didn’t come close before needing a replacement. Read the full review here.
153 grams / Treats up to 2,000 liters / $49.95 at REI Backcountry
-
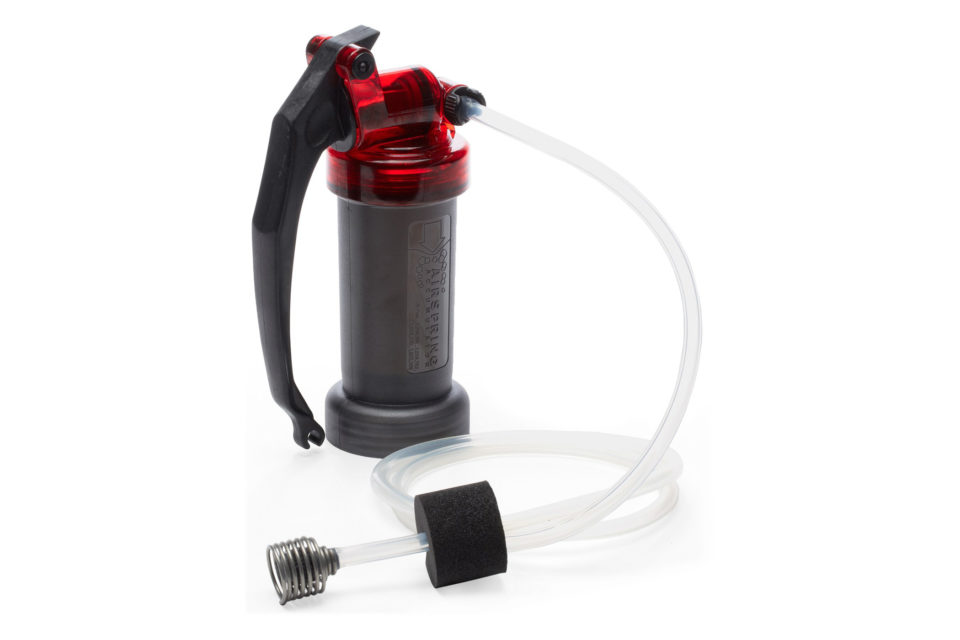
MSR MiniWorks EX Water Filter
While we haven’t used the MiniWorks EX, we’ve heard it’s one of the best true pump filters on the market. It features a ceramic/carbon element that effectively removes bacteria and protozoa including Cryptosporidia. It also removes organic compounds such as metals and pesticides. However, it weighs a whopping 415 grams (14.6 oz) and is fairly large.
415 grams / Cartridge life: ~2000 liters / $89.95 at REI Backcountry
UV Treatment/Pens (P,B,V)
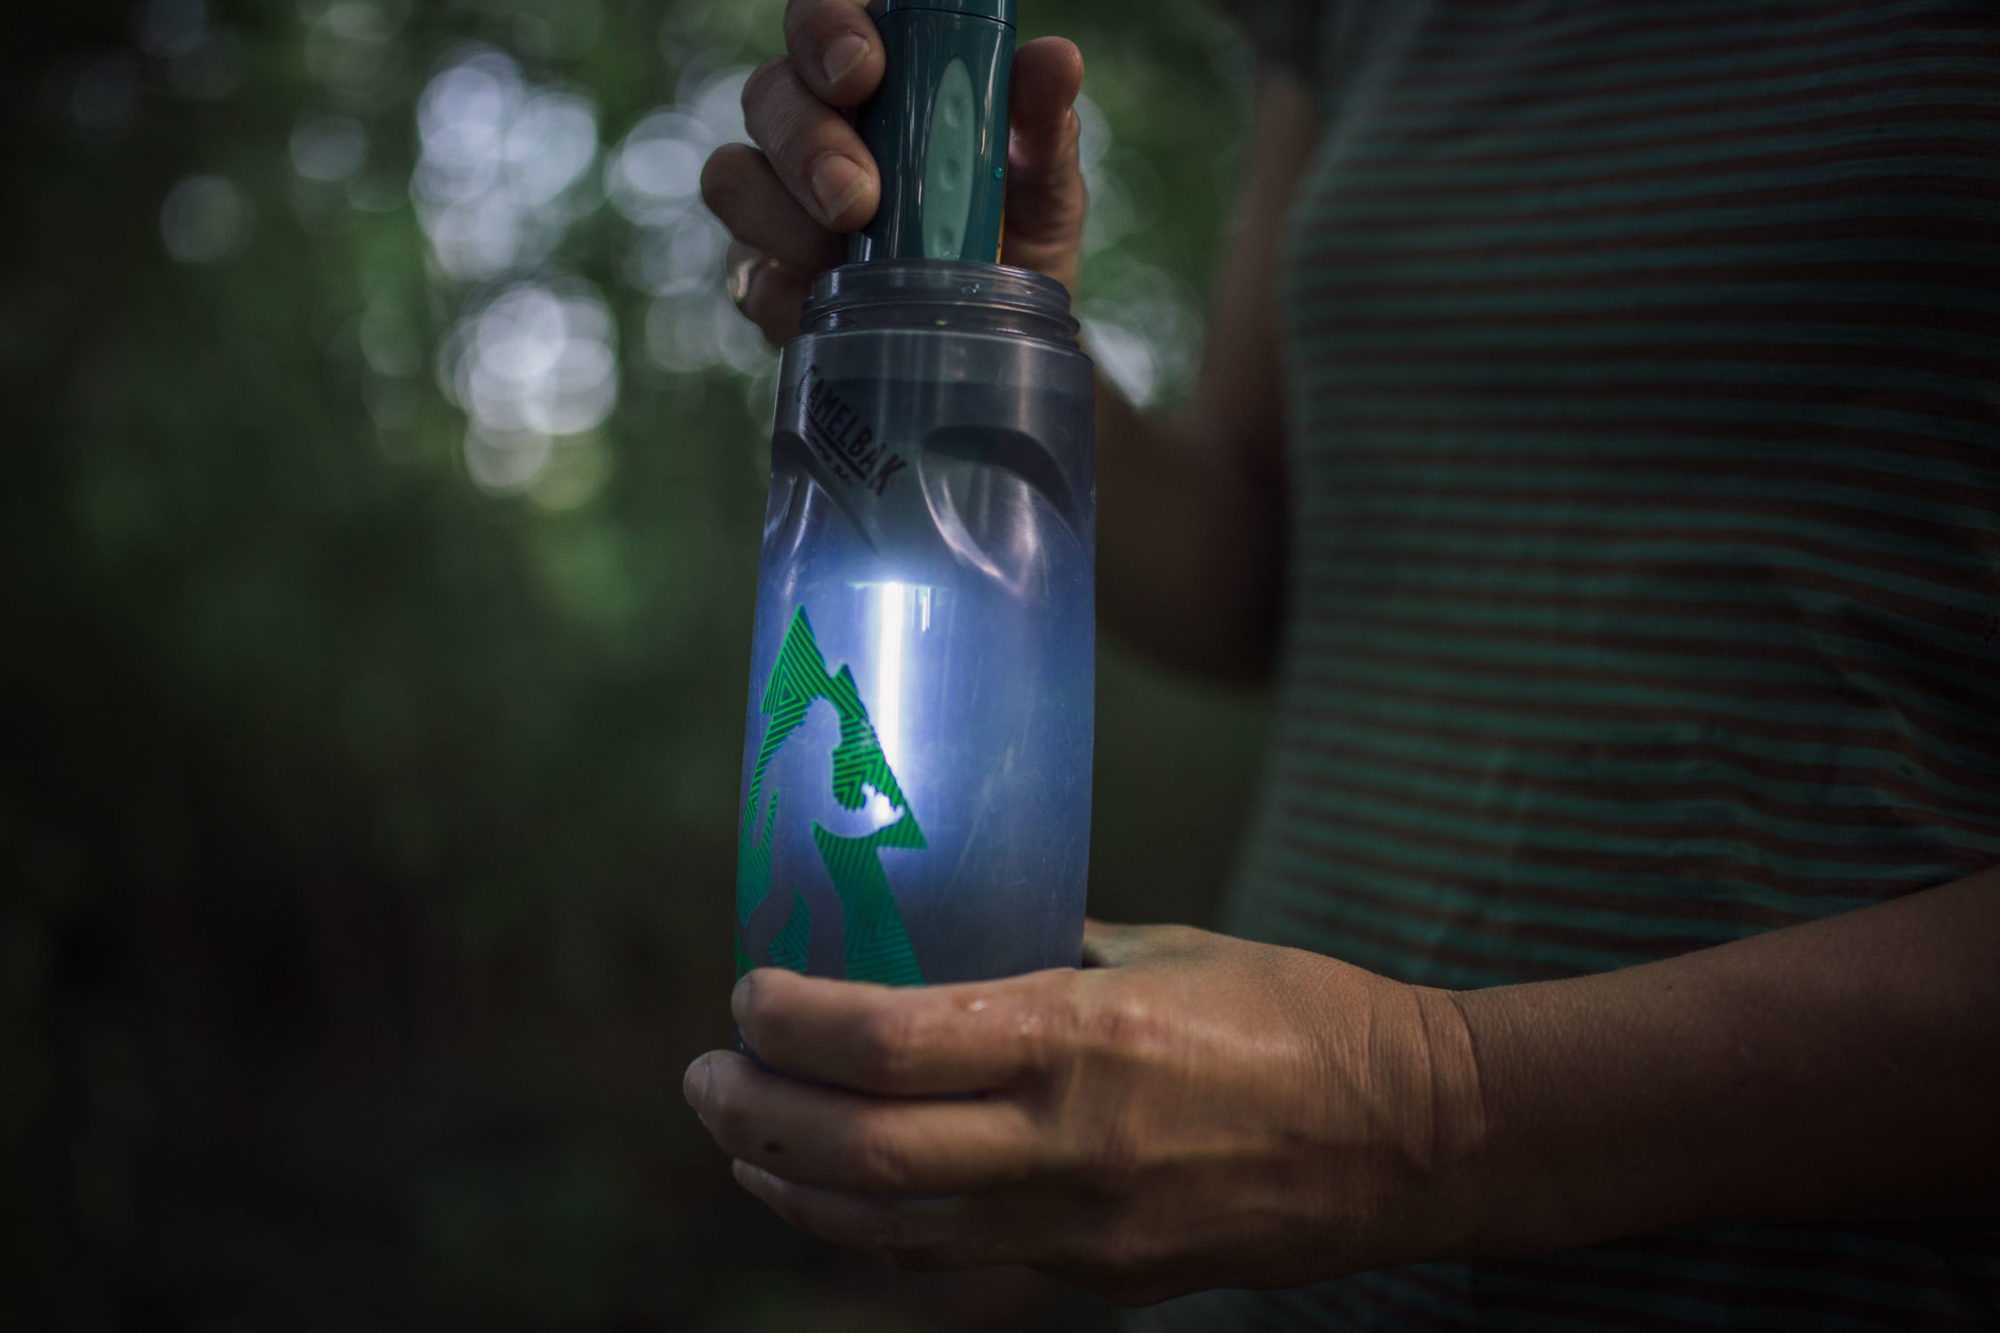
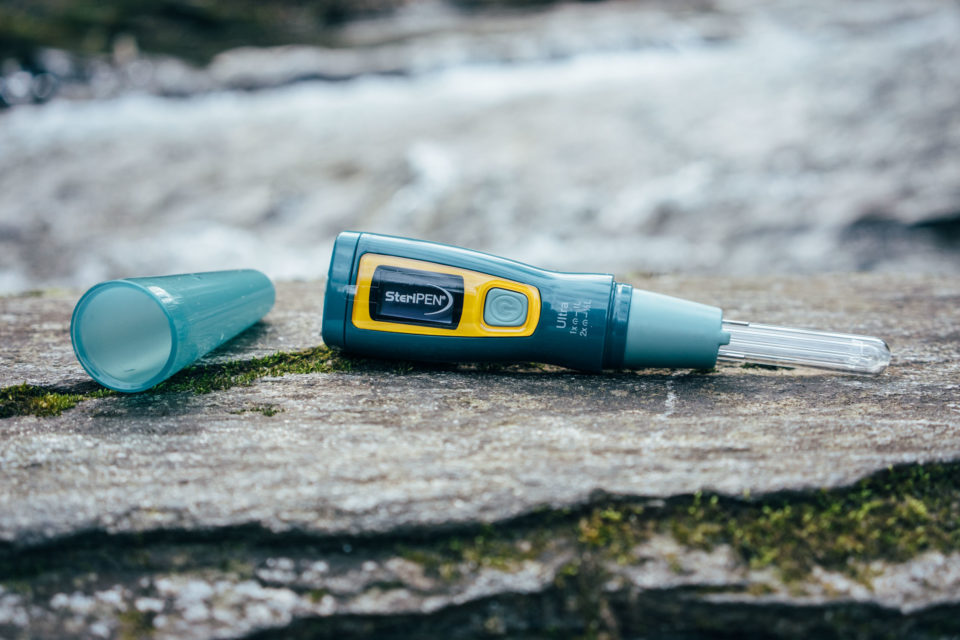
Ultraviolet light is a type of electromagnetic radiation—the same stuff responsible for sunburns. And while it may have many adverse effects, it can also make water safe to drink. UV pens (SteriPens) use a shortwave germicidal UV light source that disrupts the DNA or RNA in viruses or bacteria, thus destroying their ability to reproduce and effectively making them harmless to the human body. In clear water, the SteriPEN will destroy over 99.9999% of bacteria, 99.99% of viruses and 99.9% of protozoa. However, the water in which it’s used has to be free of particulates that bugs could potentially “hide” behind.
Pros
- Lightweight and small
- Fairly quick (about 90 seconds)
- Kills all bacteria and protozoa and is effective against viruses
Cons
- Requires batteries or re-charging
- Sometimes fail in the field
- Water must be clear, so significant pre-filtering may be required
- Doesn’t remove contaminants, such as microplastics or metals
-
Steripen Ultra
The Steripen comes in a variety of configurations, but the Ultra is the only one that’s rechargeable via USB. Steripen Ultra features an internal battery that can be recharged from any USB power source, including a solar panel, Dynamo Hub, or cache battery. Unfortunately, the Ultra is the largest and heaviest of Steripen’s options, and Steripen did away with their Freedom version, which was a much smaller rechargeable unit. The Ultra also features a low-power indicator to let you know when the battery needs recharging. When fully charged, you can treat 50L of water.
135 grams / Treats up to 50 liters/charge / $109 at REI
Gravity and Inline Filters (P,B,C)
Gravity filters work in a similar way to squeeze filters and often use the same inline filter, but they let gravity do the work instead of your hands. Some function better than others, but they’re generally simple to operate, although they take some time. Speed varies between models, and their general pros and cons are similar to squeeze filters. That said, the bags that come with gravity filters are often overbuilt and heavier than simple squeeze bladders.
-
Platypus GravityWorks filter
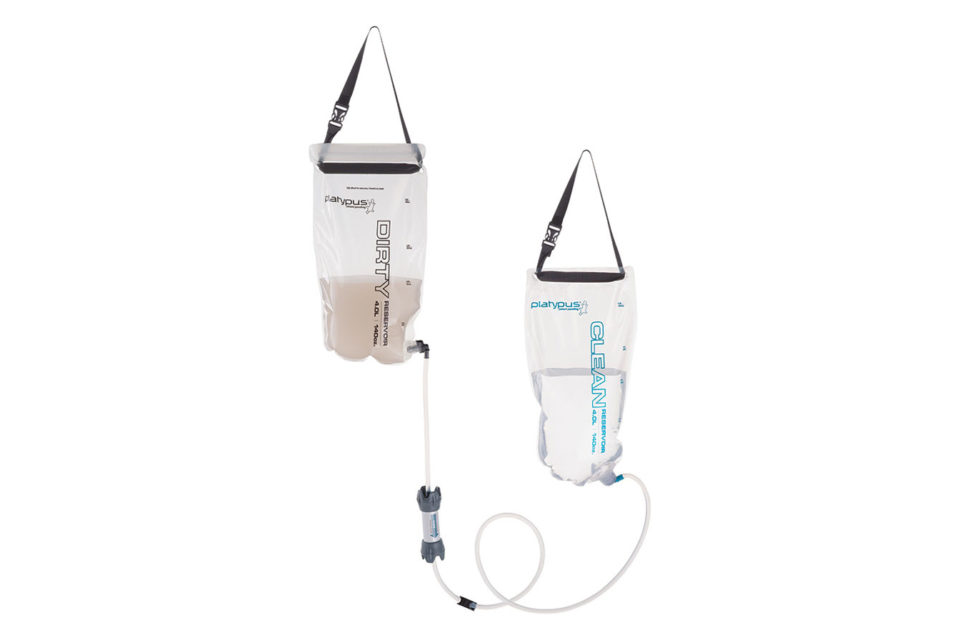
While I haven’t used the Platypus Gravityworks system, I’ve heard good things about it for group camping or family bikepacking. The system includes a 4-liter dirty water reservoir, 4-liter clean water reservoir, hollow-fiber microfilter, hoses, shutoff clamp, and storage sack. The replaceable cartridge filters up to 1,500 gallons, and the kit weighs 11.5 ounces. It’s also made in the USA. Cass puts it to work while pitching the family tent or having lunch. Platypus claims 1.75 liters per minute.
305 grams / Treats up to 1.75 liters / ~$80 at Backcountry
-
Katadyn Gravity BeFree Water Filtration System
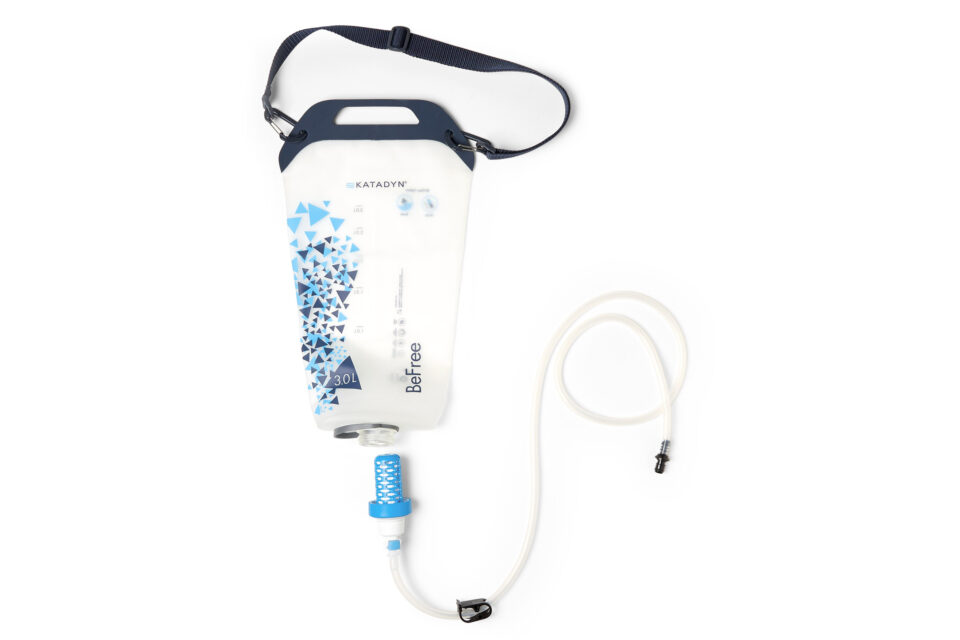
The Katadyn Gravity BeFree 3-liter single bladder system is a little simpler. It comes with a 3-liter reservoir bag and the same threaded water filter used on the 1-liter BeFree. Compared to the standard BeFree filter, this includes an output hose that lets you fill water bottles and hydration systems while hanging. The output hose has quick-connect, hydration-pack adapters, too. We haven’t tried this, but it looks promising. Katadyn claims it filters up to two liters per minute.
193 grams / Treats up to 1,000 liters / ~$60 at REI
Bikepacking Tips for Hydration/Treatment
1. Know your sources
Pay close attention to potential water sources and how much you need to carry on day-to-day rides. For filtration/sterilization, look at how you’ll be sourcing water. When traveling in developing countries, for example, drinking water from spigots and faucets requires some sort of treatment. In these situations, it’s far easier and less time-consuming to use a rechargeable Steripen instead of a filter.
2. Mark sources on the map
Before your trip, study the map to find places where you’re likely to find rivers and streams. Similarly, map out towns that may have public fountains, convenience stores, or restaurants where you can fill up. In our experience, churches, schools, police and fire stations, and other such establishments are also good options.
3. Carry a foldable bladder
Bring along an additional 2-3 liter water bladder for when extra water is needed, such as at a dry campsite. Bladders fold up easily or lay flat in your framebag. We really like the Platypus Platy 2L as it also mates with the Sawyer Squeeze filter to provide a backup filtration bag. Another option is the Cnoc Vecto 2L bag which has a full-width zip opening and comes in two different sized/thread patterns, the 28mm option that mates with the LifeStraw flex, and the 42mm threaded option for the Katadyn BeFree.
4. Bring backup chemicals
If you decide to use a filter or Steripen as your main tool for water treatment, carry backup purification tablets or drops. Tablets generally weigh nothing. And if your filter fails, you’ll be able to sterilize water in a pinch.
5. Use a BOT
I’ve been using the Vargo BOT for six years now. It’s a great cook pot that doubles as a sealed water bottle. This comes in particularly handy for carrying extra water when necessary. It’s also handy as a vessel for UV treatment.
6. Know your bugs
Make sure to find out what you’re up against in the countries where you’ll be traveling. When we’ve traveled through East African nations, it’s been in our best interest to bring a filter as well as a Steripen to double the efficacy against viruses and bacteria.
7. Use your cooking pot or dangle-mug
Skimming surface water from a pond, river, or slow-moving stream is always a challenge with a water bladder. Use your camp mug or cooking pot to dish water out into your bag. It’s an obvious solution, but one reason a “dangle mug” can come in handy.
8. Resist Plastic
No matter what, we always try and carry the necessary filtration and purification systems to avoid buying disposable plastic bottles. This usually means a UV SteriPen for tap water in developing nations.
9. Bring dirty water to camp
As obvious as it might seem, this is one trick that helps save time. That is, during your last water fill up for the day, don’t filter. Instead, just fill your dirty bottle or bladders with water and bring them to camp. If your meal requires boiling water, that will purify it anyway.
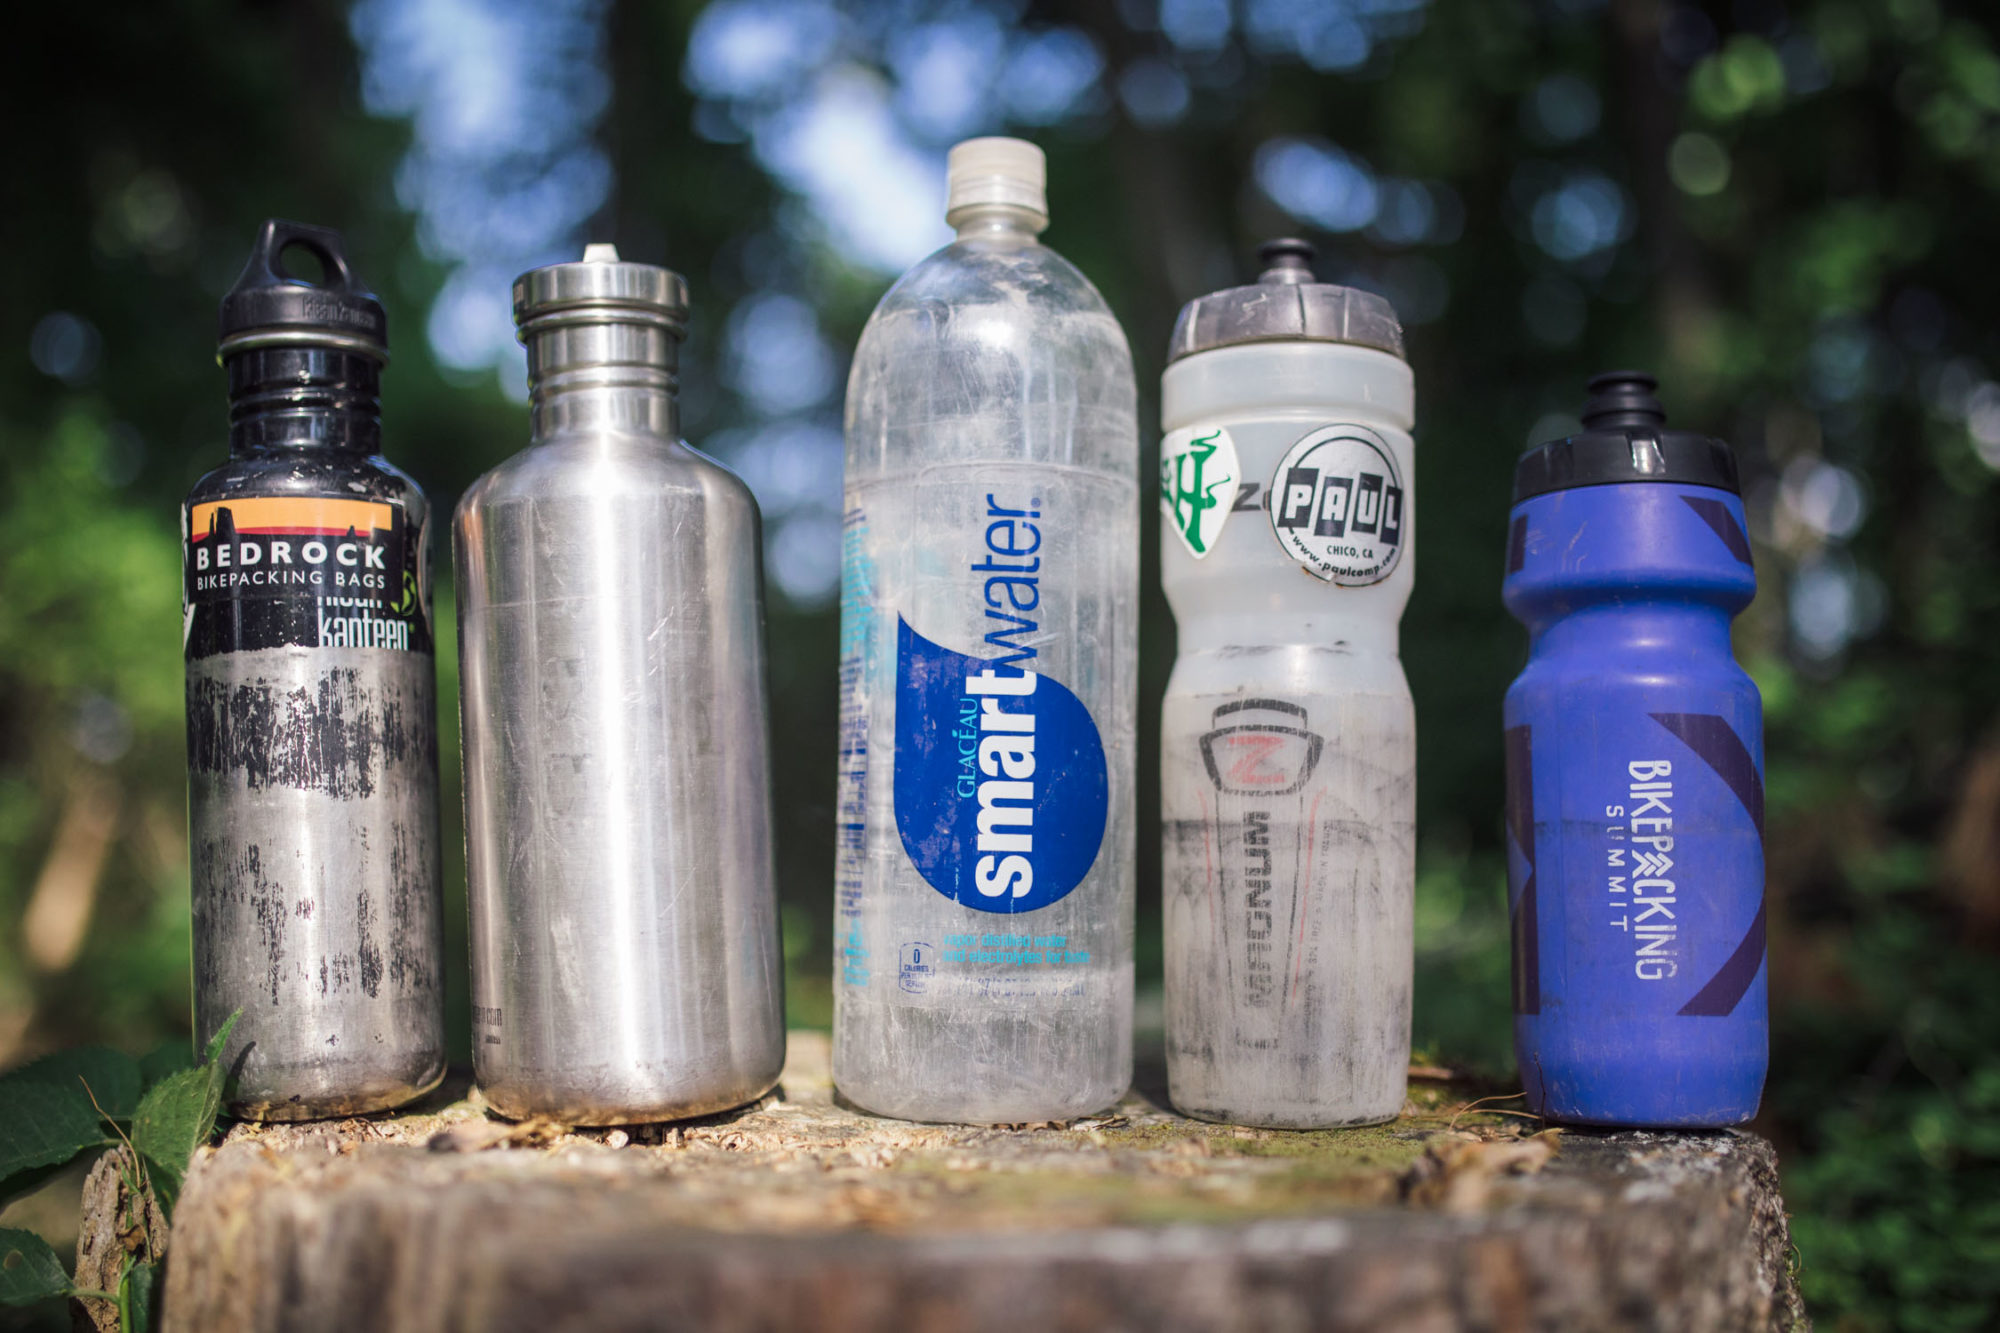
Four favorite water bottles
Everyone has their own favorite methods of carrying water. Bladders and bottles are the most common. You can dig into our bottle cage Gear Index to find solutions for carrying bottles, both standard and oversized. Also, check out Ways to Attach Bottle Cages for a list of solutions for securing bottles in atypical places or if you don’t have bottle mounts on your frame. As far as bottles go, here are four bottles that we’ve used and recommend for various situations:
Klean Kanteen single-wall (27oz and 40oz)
Classic stainless Klean Kanteen bottles come in 27, 40, and 64oz sizes and are perfect for extended bikepacking trips. Not only are they invincible, they can also be placed in a fire or on a stove and used to melt snow and warm/boil water. Plus, stainless steel is the cleanest of materials for storing liquids and doesn’t leach plastics or harmful chemicals. Check prices on Amazon.
Zefal Magnum 1L
While it looks like a normal water bottle and fits in a standard cage, Zefal’s Magnum holds a full liter (33oz). They are also quite tough. I’ve been using the same set of Zefals (aside from one I lost) for about five years. Check price on Amazon.
Specialized Purist
Specialized Purist bottles are made in California, BPA free, and have several spout options, including the aptly named “Watergate.” Purist technology shields the inside of the bottle from mold and staining, which is great on long trips.
Recycled SmartWater 1.5L bottles
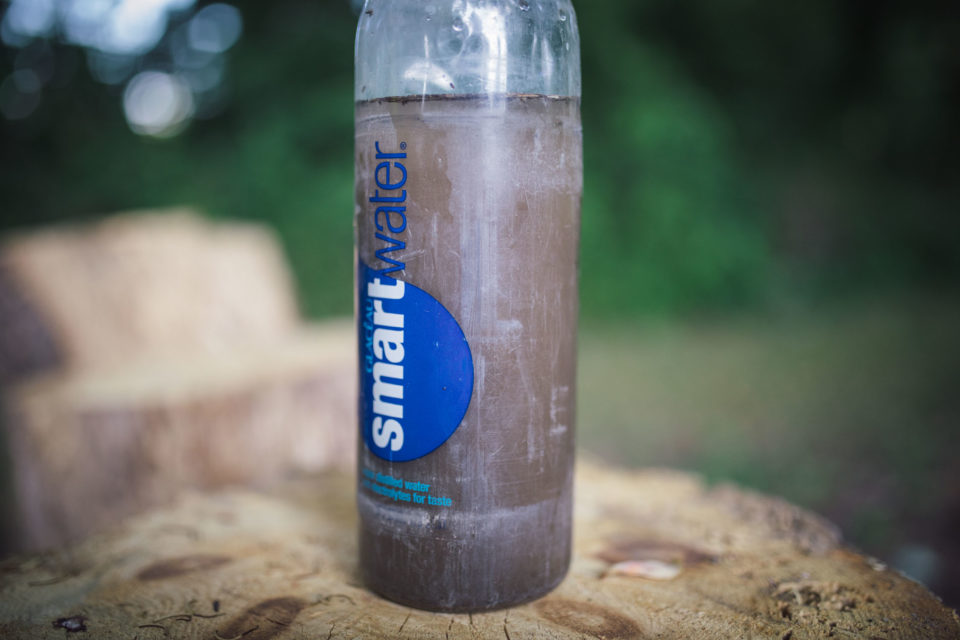
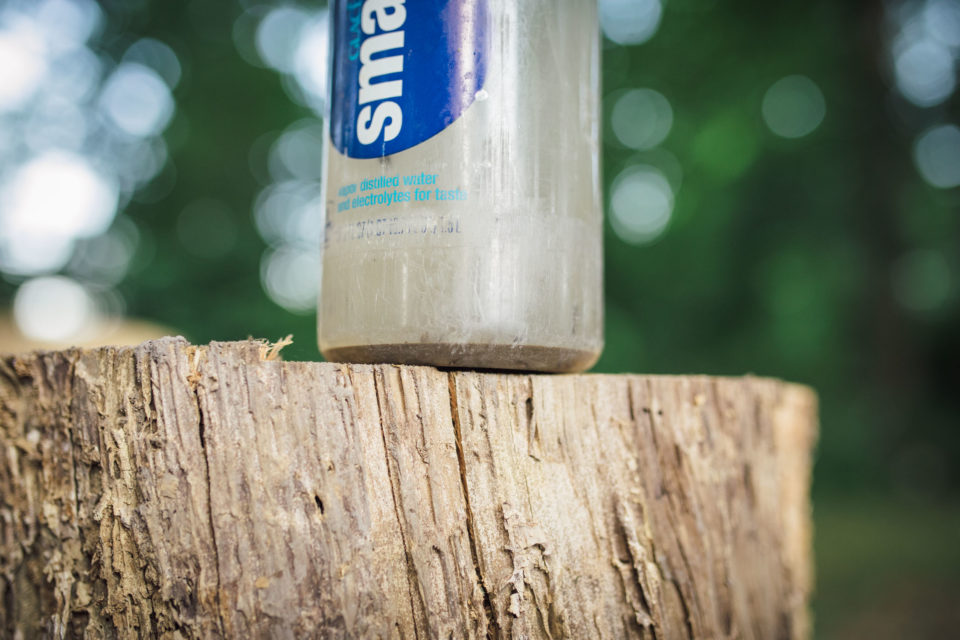
There are several oversized bottle cages that bikepackers use when traveling through water-starved locales. The Topeak Modula XL and the CINQ Expedition cage come to mind. “Single-use” PET plastic bottles are really the only bottles fit for these odd, oversized cages. One such bottle that seems to work well is the SmartWater 1.5L bottle. This one’s been in use for a while…
Wrap Up (Editors’ Choice)
As referenced in all the descriptions above, Virginia and I have tried many of these solutions over the years, and some that aren’t listed here. Often I switch up based on my location/situation, but on longer trips with variable sources, I think the ideal one-two punch is to carry a Steripen Ultra and a Sawyer Squeeze Mini—along with the included cleaning syringe, a 64oz Sawyer Squeeze System bag, and a collapsible Platy 2L Bottle. This solution not only provides a backup form of purification, but it allows you to easily UV treat tap water (which is important in many countries). In addition, the two foldable bottles provide extra water storage for dry-camping or carrying on long sections without many water resupply options. In addition, I also carry a small supply of Katadyn Micropur tablets for emergencies.
For smaller trips, from overnighters to week-long rides, I’ve gravitated toward the Katadyn BeFree. It’s by far the easiest to use and has proven to maintain a good flow.
Miles Arbour: I used most of the MSR lineup during my hiking/paddling days, but more recently, I’ve been using packable squeeze filters, including the new Hydrapak filter lineup. I tend to stay away from the chemical stuff for regular use, but I always pack either Pristine or Aquatabs as a backup. I’ve also had pretty good luck with MSR Trailshot, although it seems to be slowing down as of late.
Joe Cruz: All in all, I’ve found the Steripen to be my treatment of choice, month after month, far off the grid. As long as the water tastes within reason and isn’t cloudy (in which case I let it settle).
Cass Gilbert: Depending on where I’m riding and the style of trip, I use different water treatment methods. Thankfully, I’m blessed with a robust stomach, so much of the time, I’ll drink almost exclusively local and just carry a Lifestraw as an emergency backup, with a small bottle of Betadine too. I’ll make sure any dubious water is sufficiently boiled when it comes to dinner and make breakfast cups of hydrating tea. If I’m headed to the mountains and expecting particularly cold temperatures, I’m a fan of the Steripen Ultra. It’s quick to use, holds its charge well, and I don’t need to worry about it getting damaged if it freezes. For family trips, when we need to filter large amounts of water, then it’s the Platypus Gravityworks. It comes with a 2L bag, perfect for groups; I put it to work while we’re pitching the tent, or having lunch. When I need to carry extra water for a long desert ride, I’ll carry a 1.9L Klean Kanteen under the downtube, supplemented with water bladder in my framebag. My favourite is Hydrapack’s 3L Seeker, as it’s made from BPA-free silicone, so it doesn’t leach chemicals. The Klean Kanteen is impervious to errant rocks, it’s eco-friendly compared to throwaway plastic bottles, and I can use it decant boiling water, often served in roadside restaurants in the likes of South America.
Lucas Winzenburg: When I first got into backcountry hiking and riding, I swore by AquaMira for its impressively small footprint, but the long wait times (there’s nothing worse than arriving at a steam thirsty and having to wait half an hour for a drink) and the thought of ingesting chemical-laden water for weeks on end started to bother me. I was using a SteriPens exclusively for a while after that, but I sometimes found myself stressed about finding batteries or keeping yet another device charged. These days, I’ve settled on the Sawyer Mini with a Platypus bladder as the most practical, worry-free solution. Coupled with a bandana for pre-filtering and my old SteriPen in the bottom of my framebag in case of emergencies, I can head out and feel confident about drinking from nearly any source.
If you have an ultralight water filter or purification system that works for you but isn’t listed here, let us know in the conversation below.
Please keep the conversation civil, constructive, and inclusive, or your comment will be removed.


