Make Your Own Rinko Bag
In this Make Your Own Bikepacking Gear (MYOBG) tutorial, our friend Cody Toth in Berlin shares insights on how to sew an ultralight Rinko bag, allowing you to discreetly bring your bike on trains without paying extra fees. Find his step-by-step guide and some tips for using your bag here…
PUBLISHED Jun 19, 2024
Photos by Josh Meissner
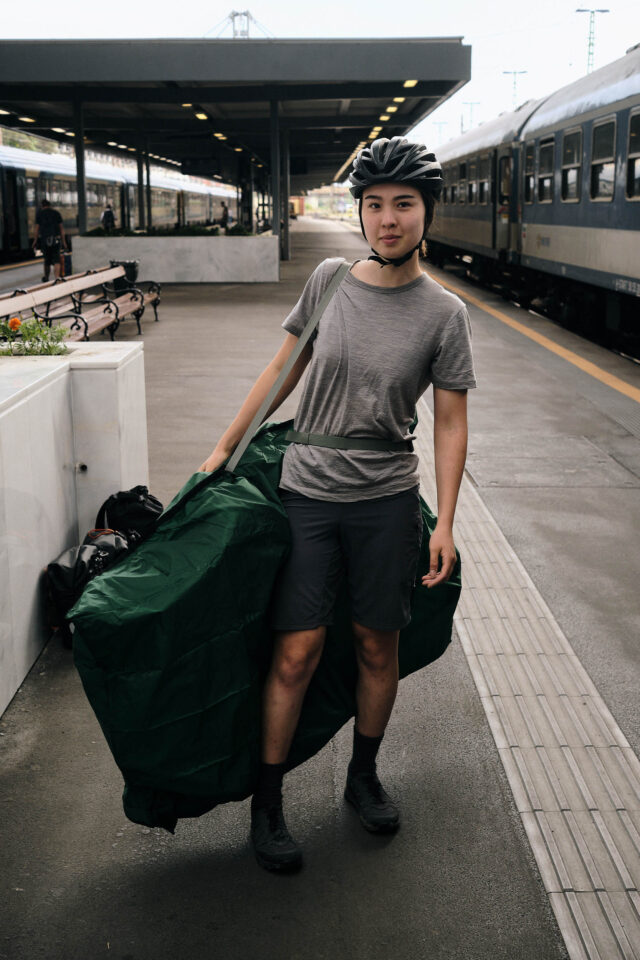
Hey y’all, I’m Cody, an industrial designer and engineer, but most of all, someone who likes making things. Today, I’ll guide you through the process of making a Rinko bag, which is a simple and effective way to haul your bike on trains without having to book a bike ticket. It quickly pays for itself. You can throw your bike in this bag and carry it on board like a piece of luggage, et voila!
Materials
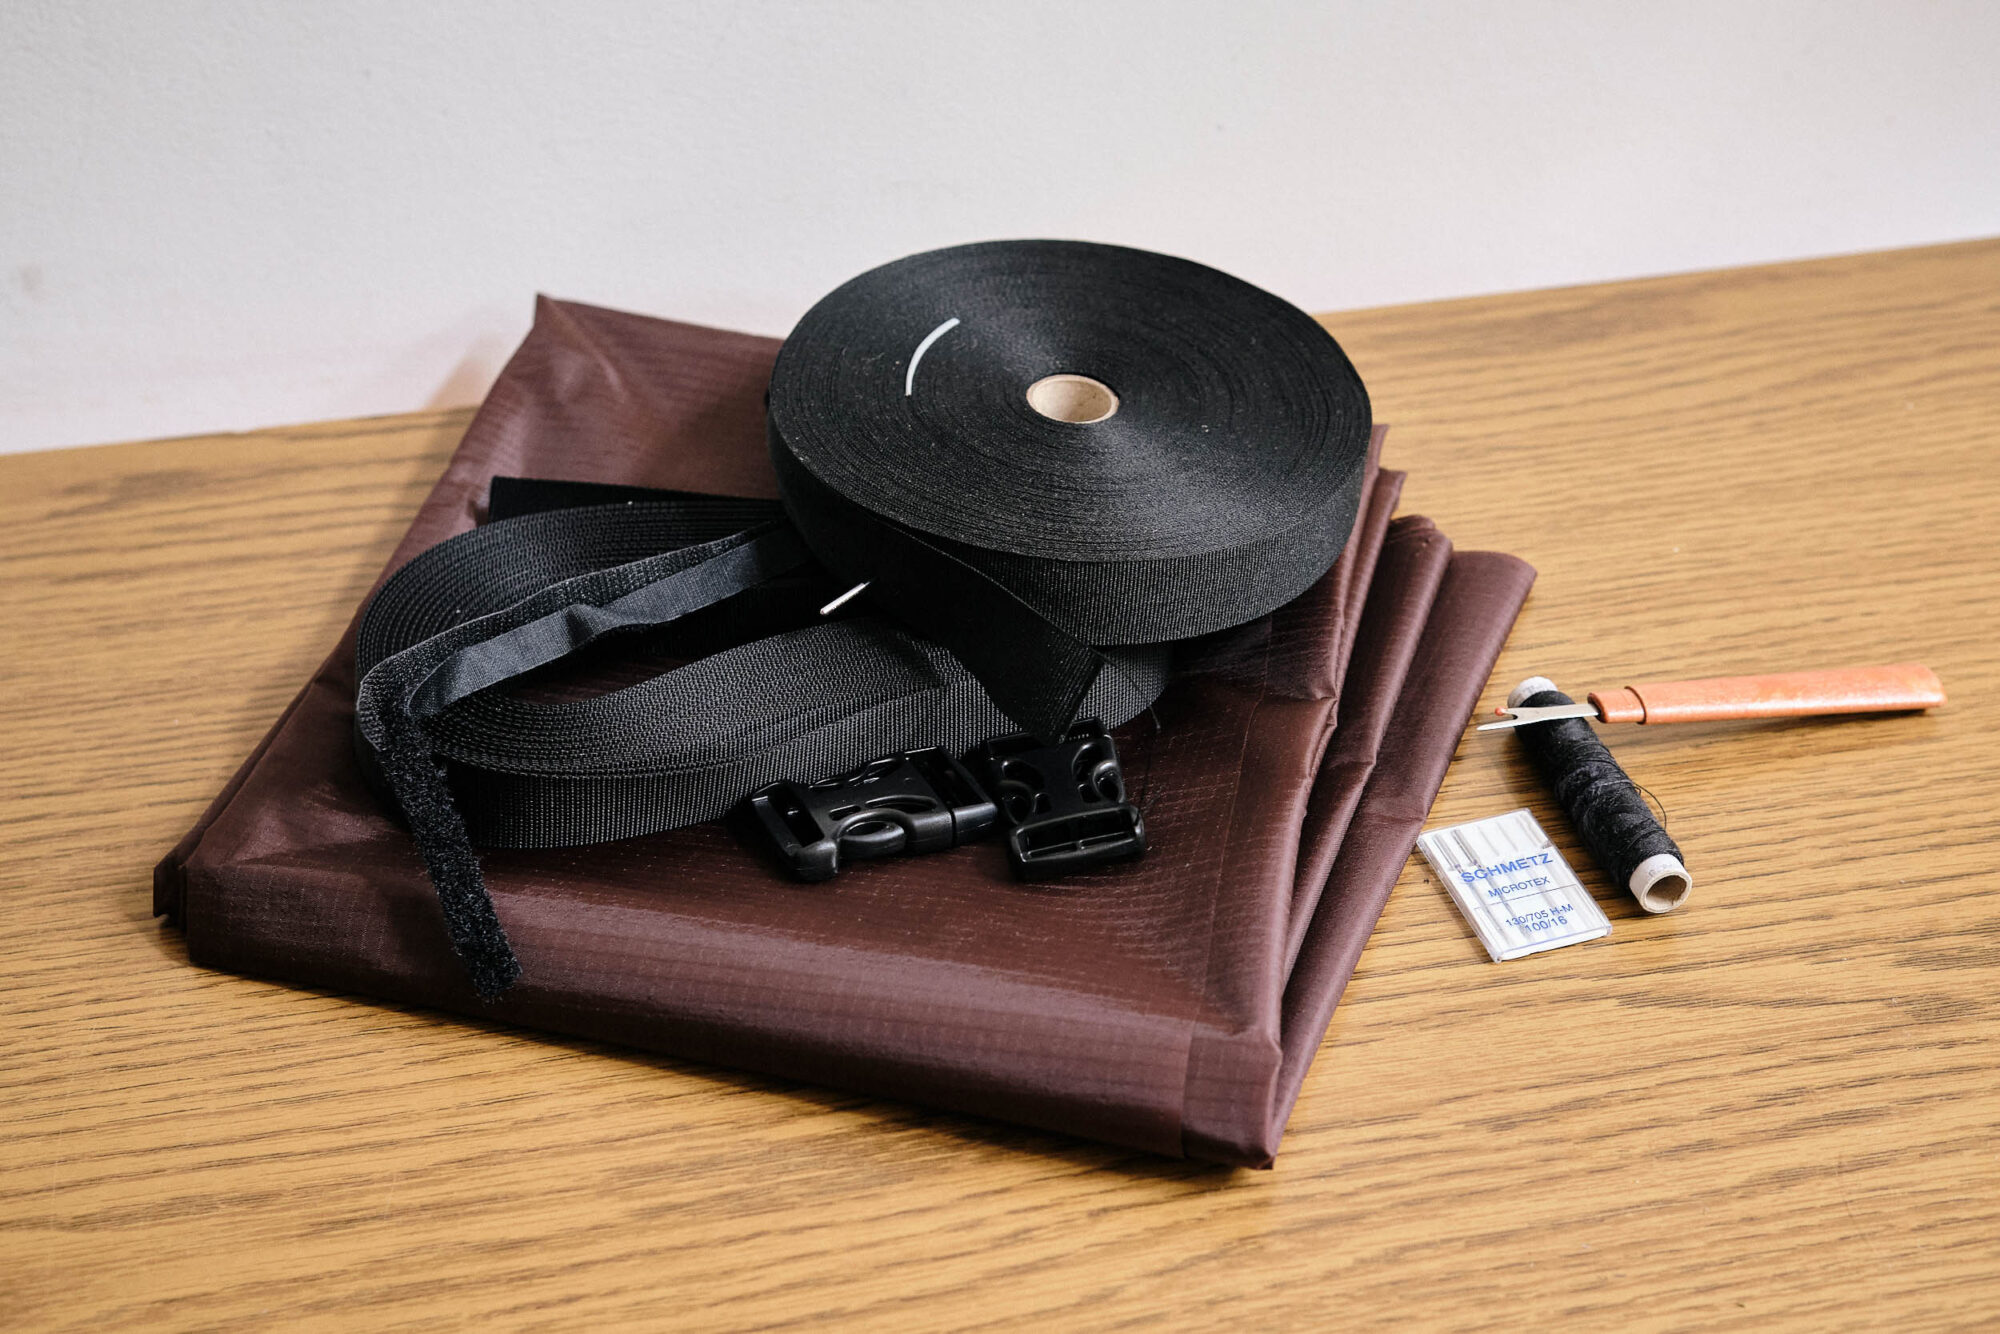
- 2 x 1.5m of lightweight ripstop nylon as the main fabric.
- 2.5 meters of 25mm polyamide webbing for the shoulder strap.
- 3 meters of 25mm edge seam binding to close up the sides of the main fabric
- About 1.5m of sewable velcro (hook and loop, around 10mm wide)
- Two 25mm buckles, one side adjustable.
- Thread – I like Alterfil, which has some polyester in it for longevity. Make sure to match this with the needle size and your machine’s capabilities.
This can certainly be done with something like an old set of sails or curtains, but it will take up a lot of room, which is already quite precious if you are going on a lil’ bicycle adventure.
For the main fabric, I usally choose something between 70-150gsm. This is the material’s density in grams per square meter. The lighter, the better for packing, but the harder it is to manage while sewing. You might choose a coated material for waterproofness so you can use this bag as a small poncho or ground sheet if needed. I would say that two meters is a good size to purchase, making for a total pattern size of 1.5 x 2m, since most fabrics are sold from a 1.5m-wide roll. Note: In the illustration below, I’m depicting the folded-in-half, finished size of the bag!
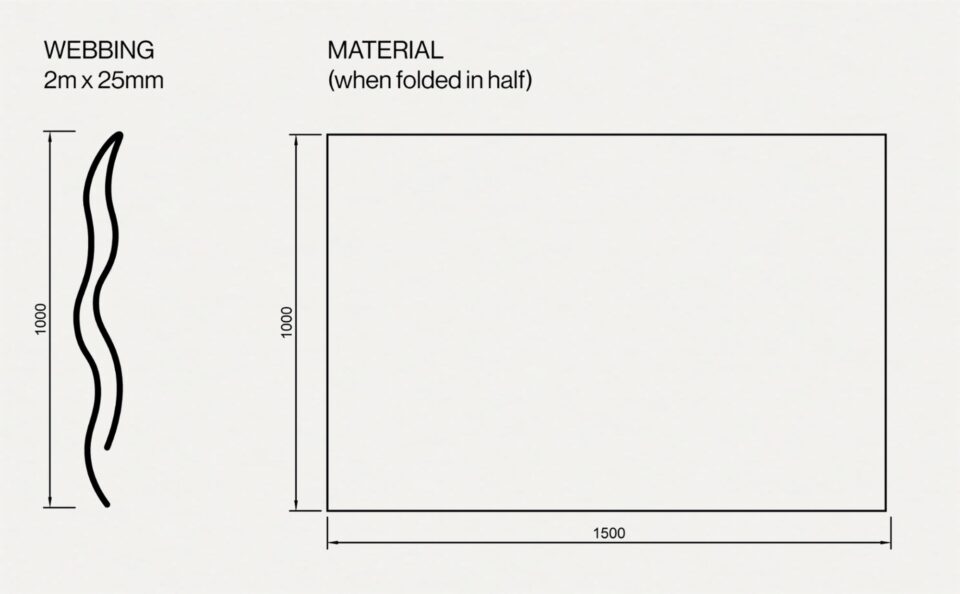
A 1.5 x 1m Rinko bag should fit most bikes, unless you’re running a plus tire bigger than 29 x 2.6″. In that case, try to make yourself a 1.6 x 2.3m pattern, making for a 1.6×1.15m rinko bag. Essentially, if you need a bigger bag, order more material and sew it together.
Process
If you know your way around a sewing machine, making a Rinko bag is a pretty straightfoward process. Find the process outlined below. Once you have all the materials, there are only about six steps to making your bag.
Step-by-Step Guide
Step 1: Bind the Edges
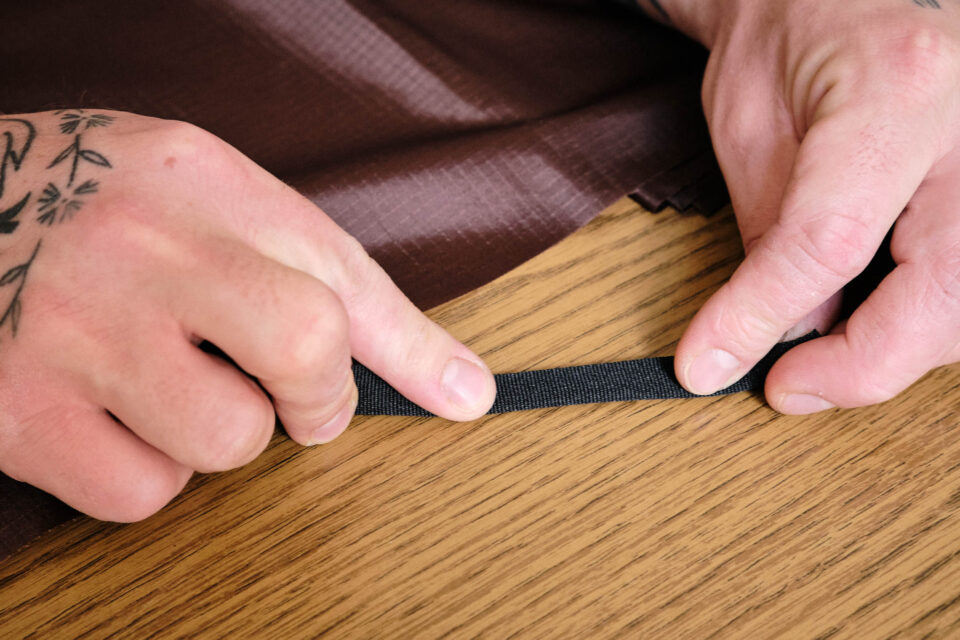
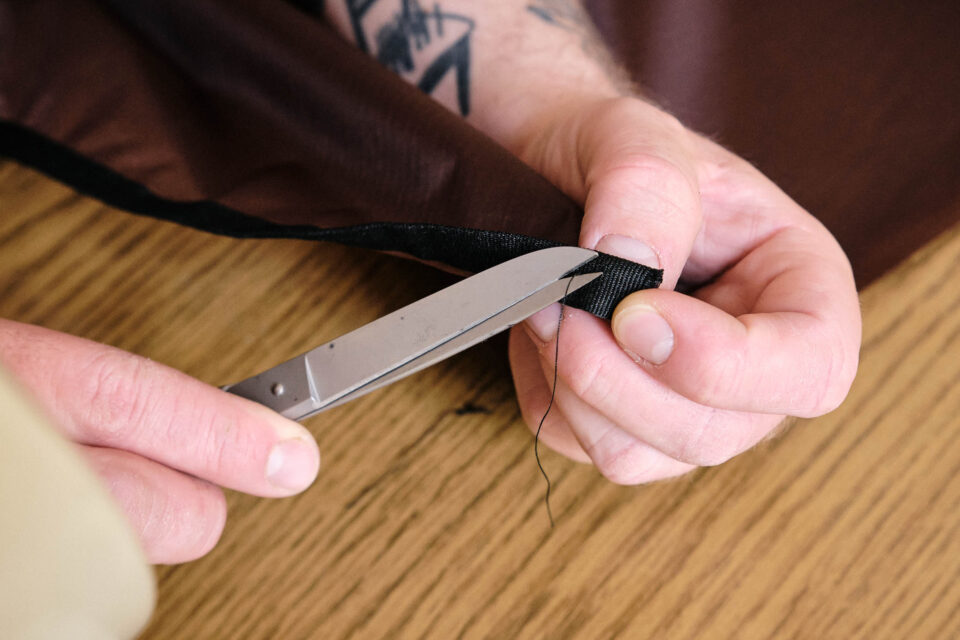
First things first, take the edge seam binding and lay it out along with your housing material. The final bag dimensions are 1.5 x 1m, so we fold the 1.5 x 2m of material in half to make the bag shape. Bind the 1.5m long sides that will make the opening of the bag.
Make sure to always backstitch and cut off the leftover threads for a finished look. If you want to be extra pro, seal the thread with a lighter.
Step 2: Sew on the Velcro
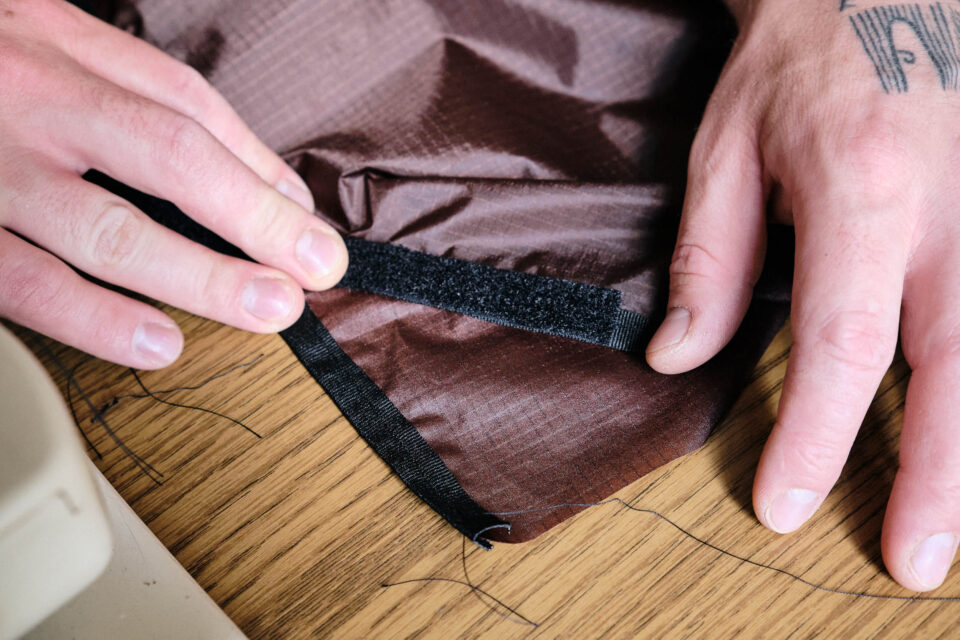
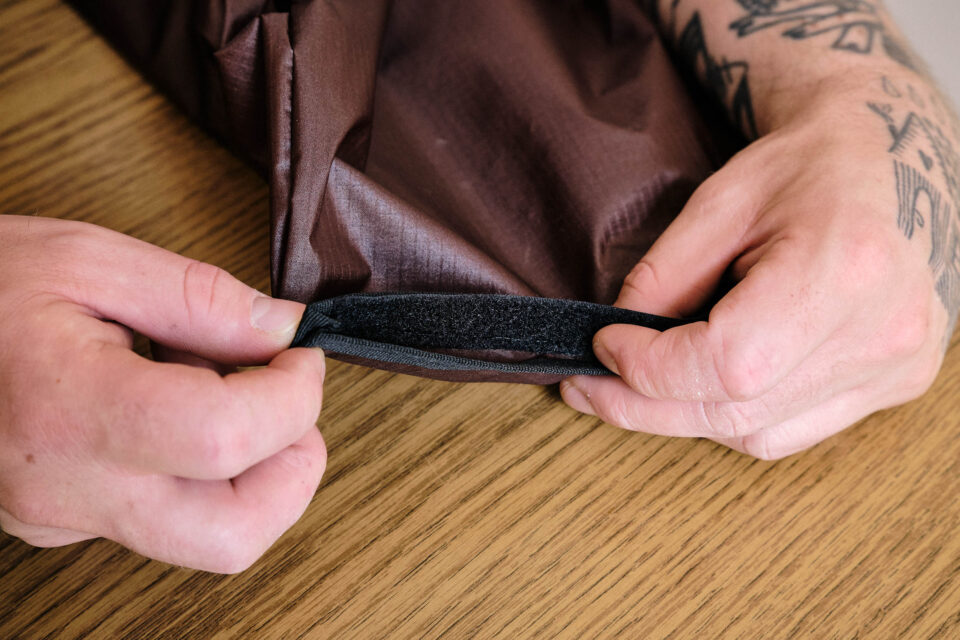
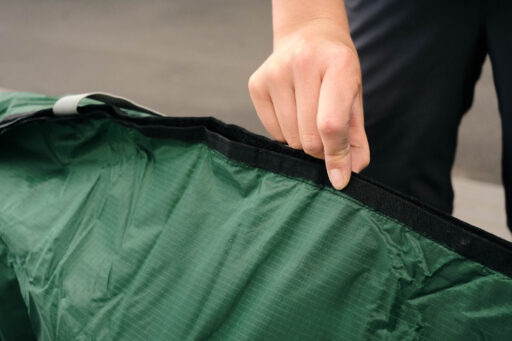
After binding up the edges, we will now sew on the velcro. One side gets the hook, and the other side gets the loop. Go slowly here. We’re not in a race, and we need this to look cute, so the train conductor doesn’t kick your bike off.
Step 3: Close up the Sides
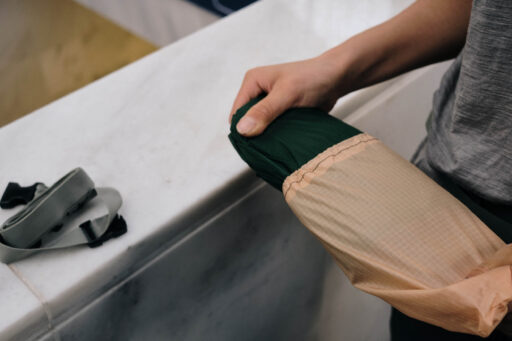
Flip the bag inside out so the velcro hook and loop are facing outward. Close up the sides. I know it’s tricky to sew straight, but I believe in you!
If you want this to look extra pro, I would suggest tossing a bar-tack on the top now that the bag is right-side out. It will make the bag last a little longer.
Step 4: Sew the Carry Strap
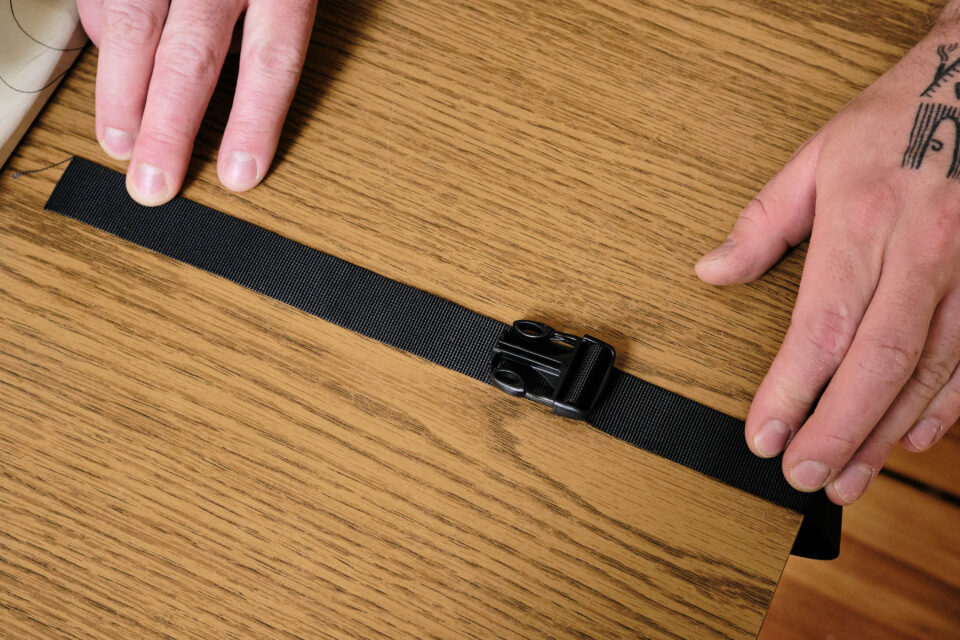
Lay out the 25mm webbing with the adjustable buckle on one end and the non-adjustable part on the other. Loop the webbing around and place a bar tack or even two to make it as strong as possible.

I’m doing this on a home sewing machine to show you it can be done. Release the thread tension a bit for this part so the thread doesn’t bunch up.
Step 5: Appreciate Your Work
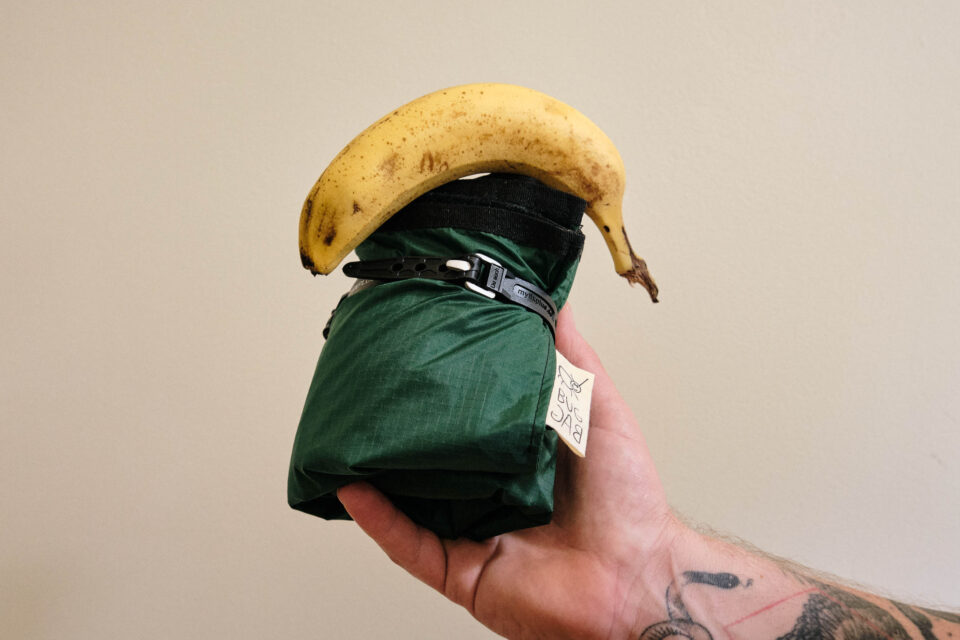
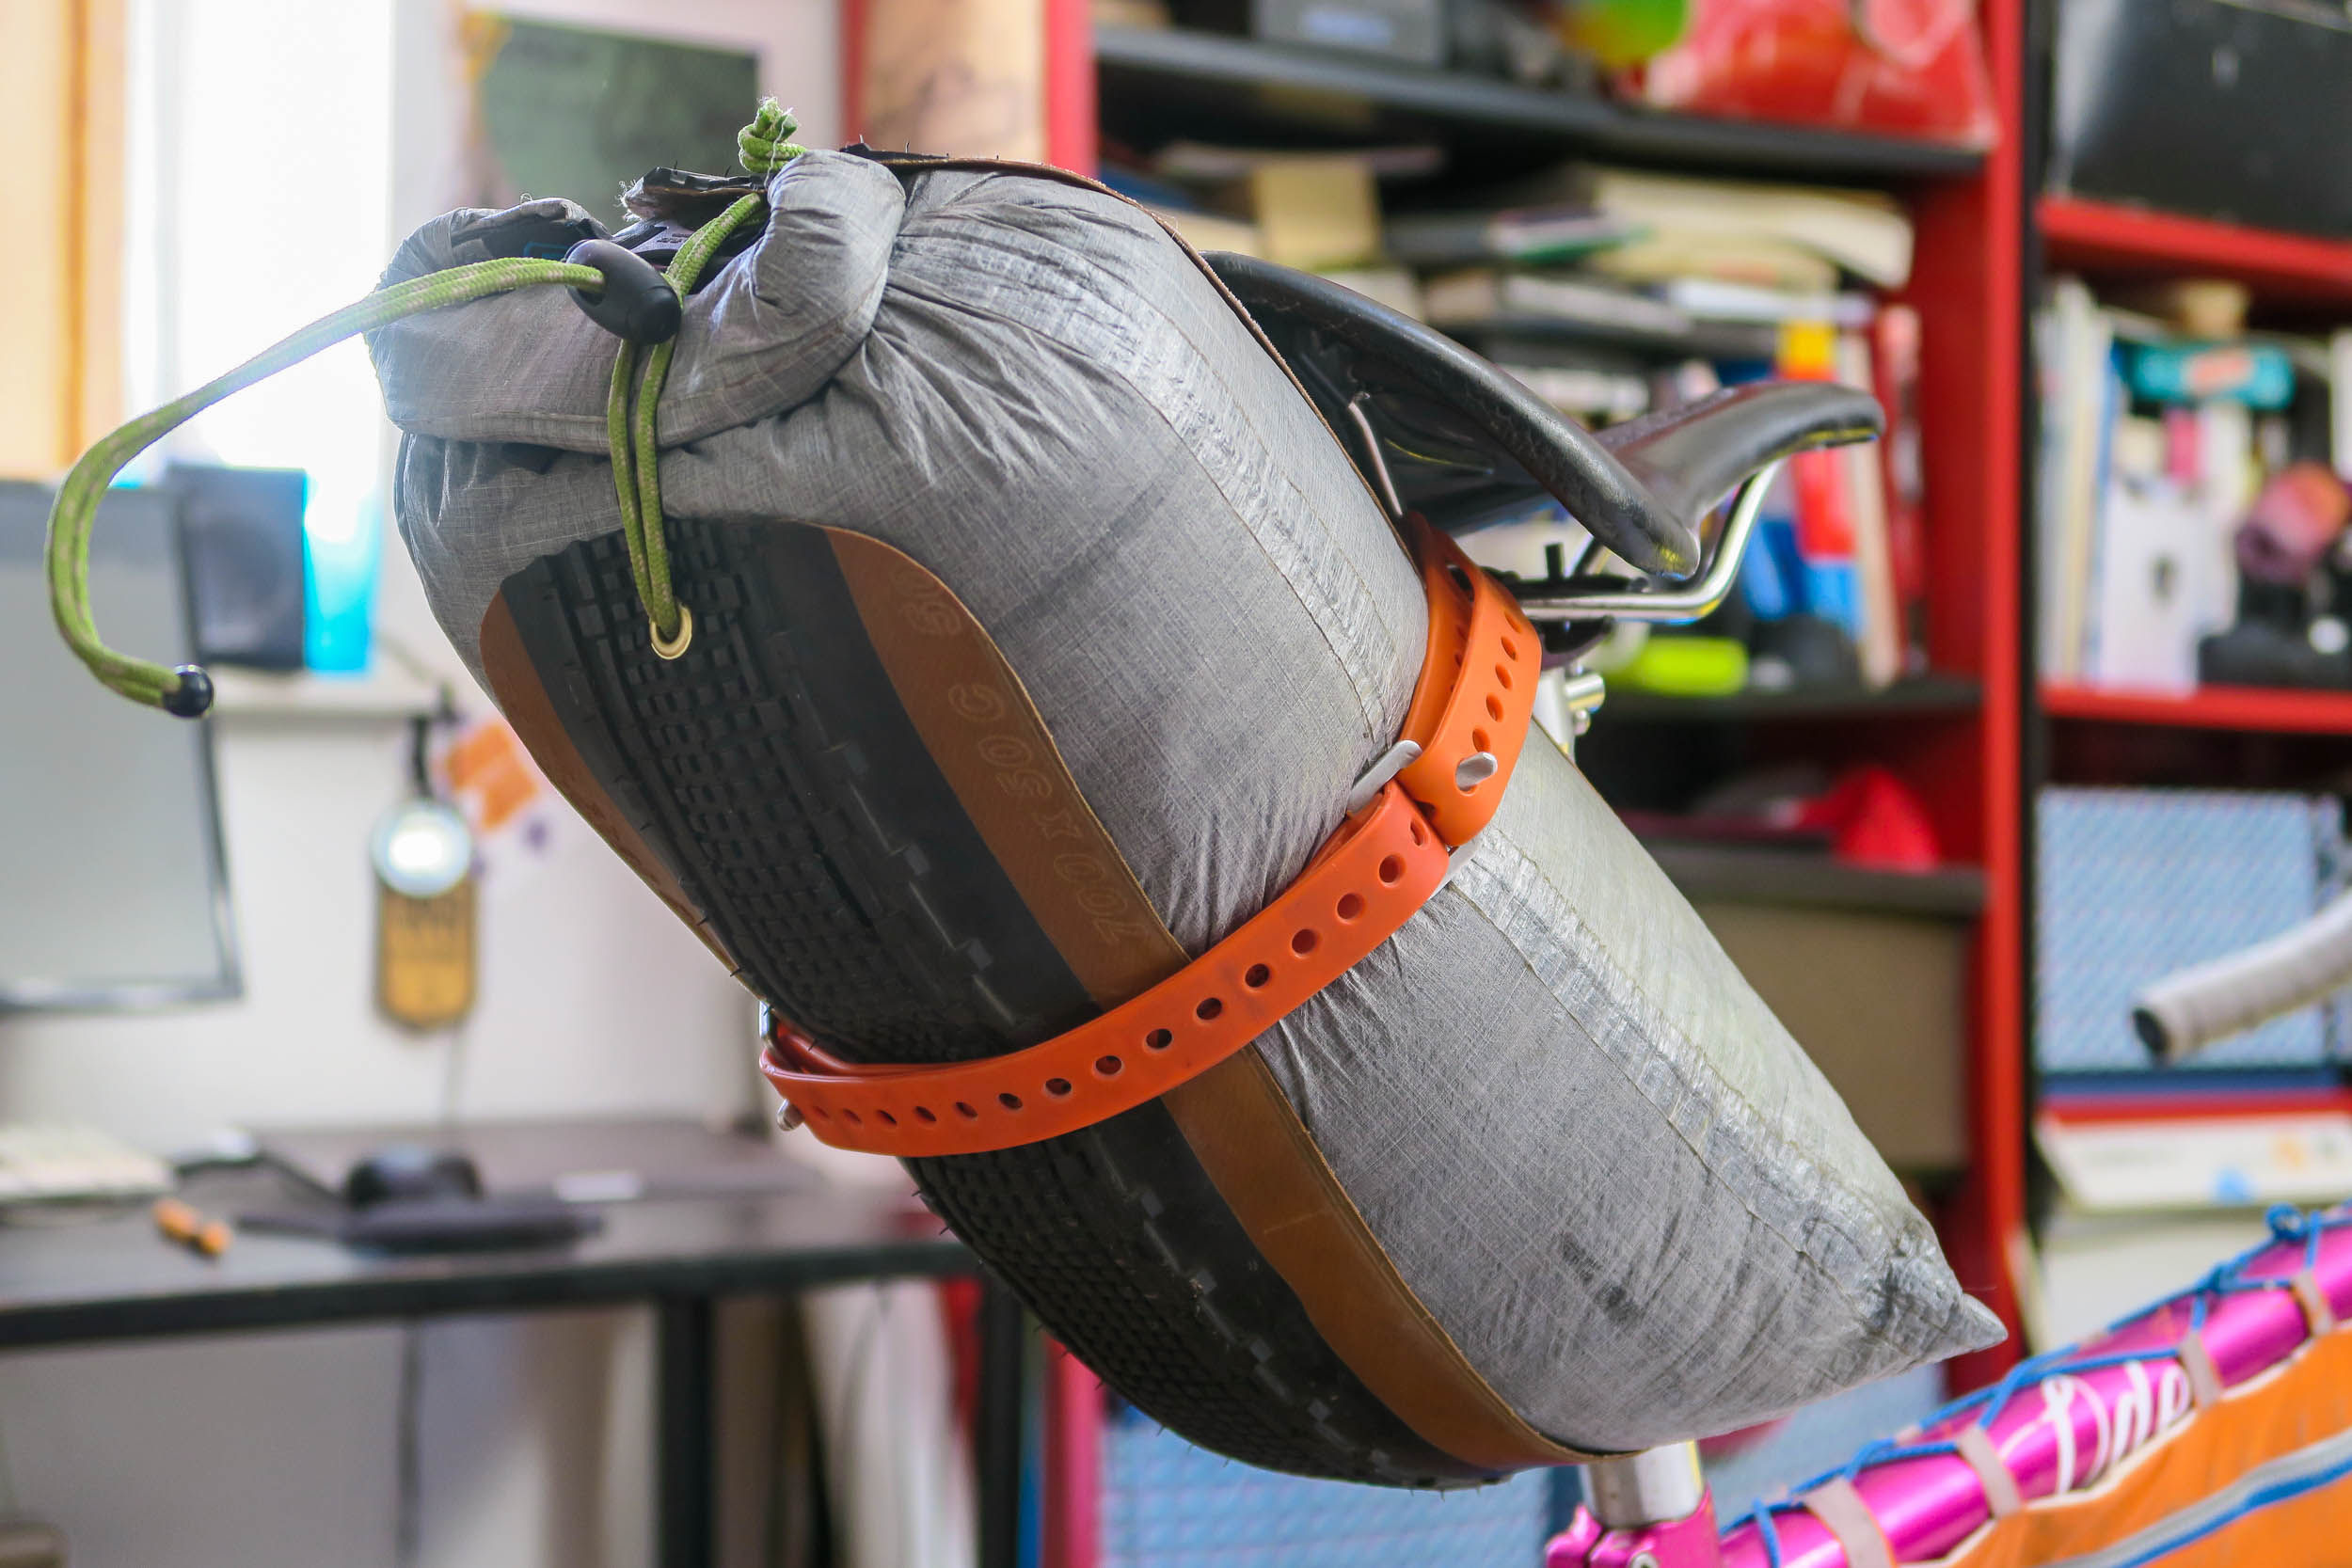
You now have a rinko bag! Good work. Remember, the strap is crucial to the functioning of the bag, as it’s the strap that holds the weight of the bike, not the bag. You might sew a little pouch to keep both pieces together, but I think it’s easier to just throw this in a ziplock bag to keep it nice and dirt free and just strap it to your frame. Banana for scale.
How to use the Rinko Bag
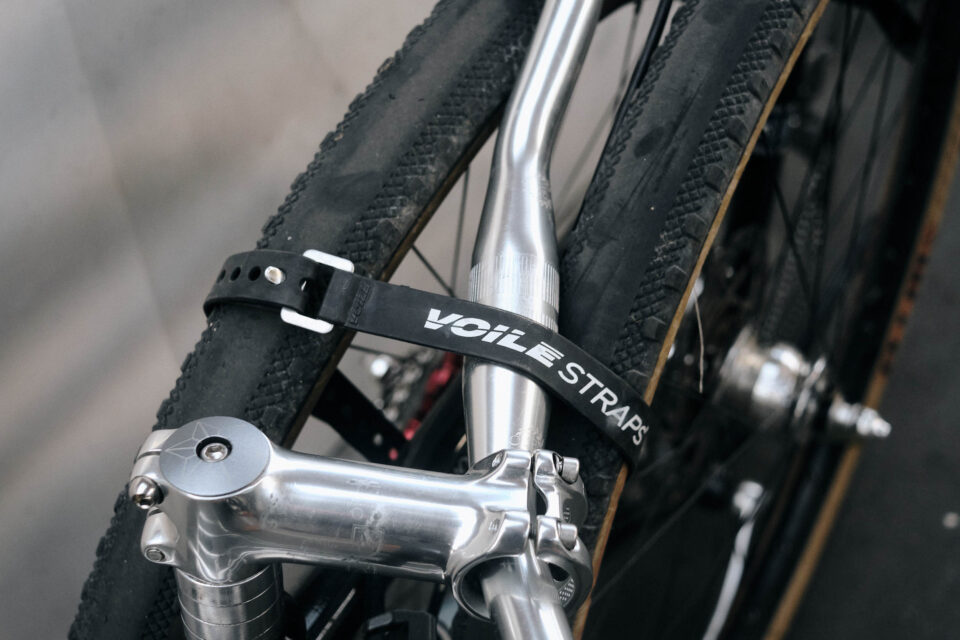
Rinko requires you to partially disassemble your bike and bind it together into a solid package with some additional straps. Download the instructions in PDF form here, and swipe through the gallery to see the steps in action below.
Rinko Steps
1. Remove most bags from your bike. The framebag can usually stay on.
2. Flat bars may only need to be twisted to the side; drop bars may require some more disassembly (remove from stem).
3. Taller riders will need to drop their saddle all the way or remove it.
4. The bag does not like wheels, so these need to be removed as well. Now place your wheels on both sides of the frame and strap everything together to make a bike-wheel sandwich! Protect your brake discs by putting them on the inside. It’s also a good idea to remove your rear derailleur.
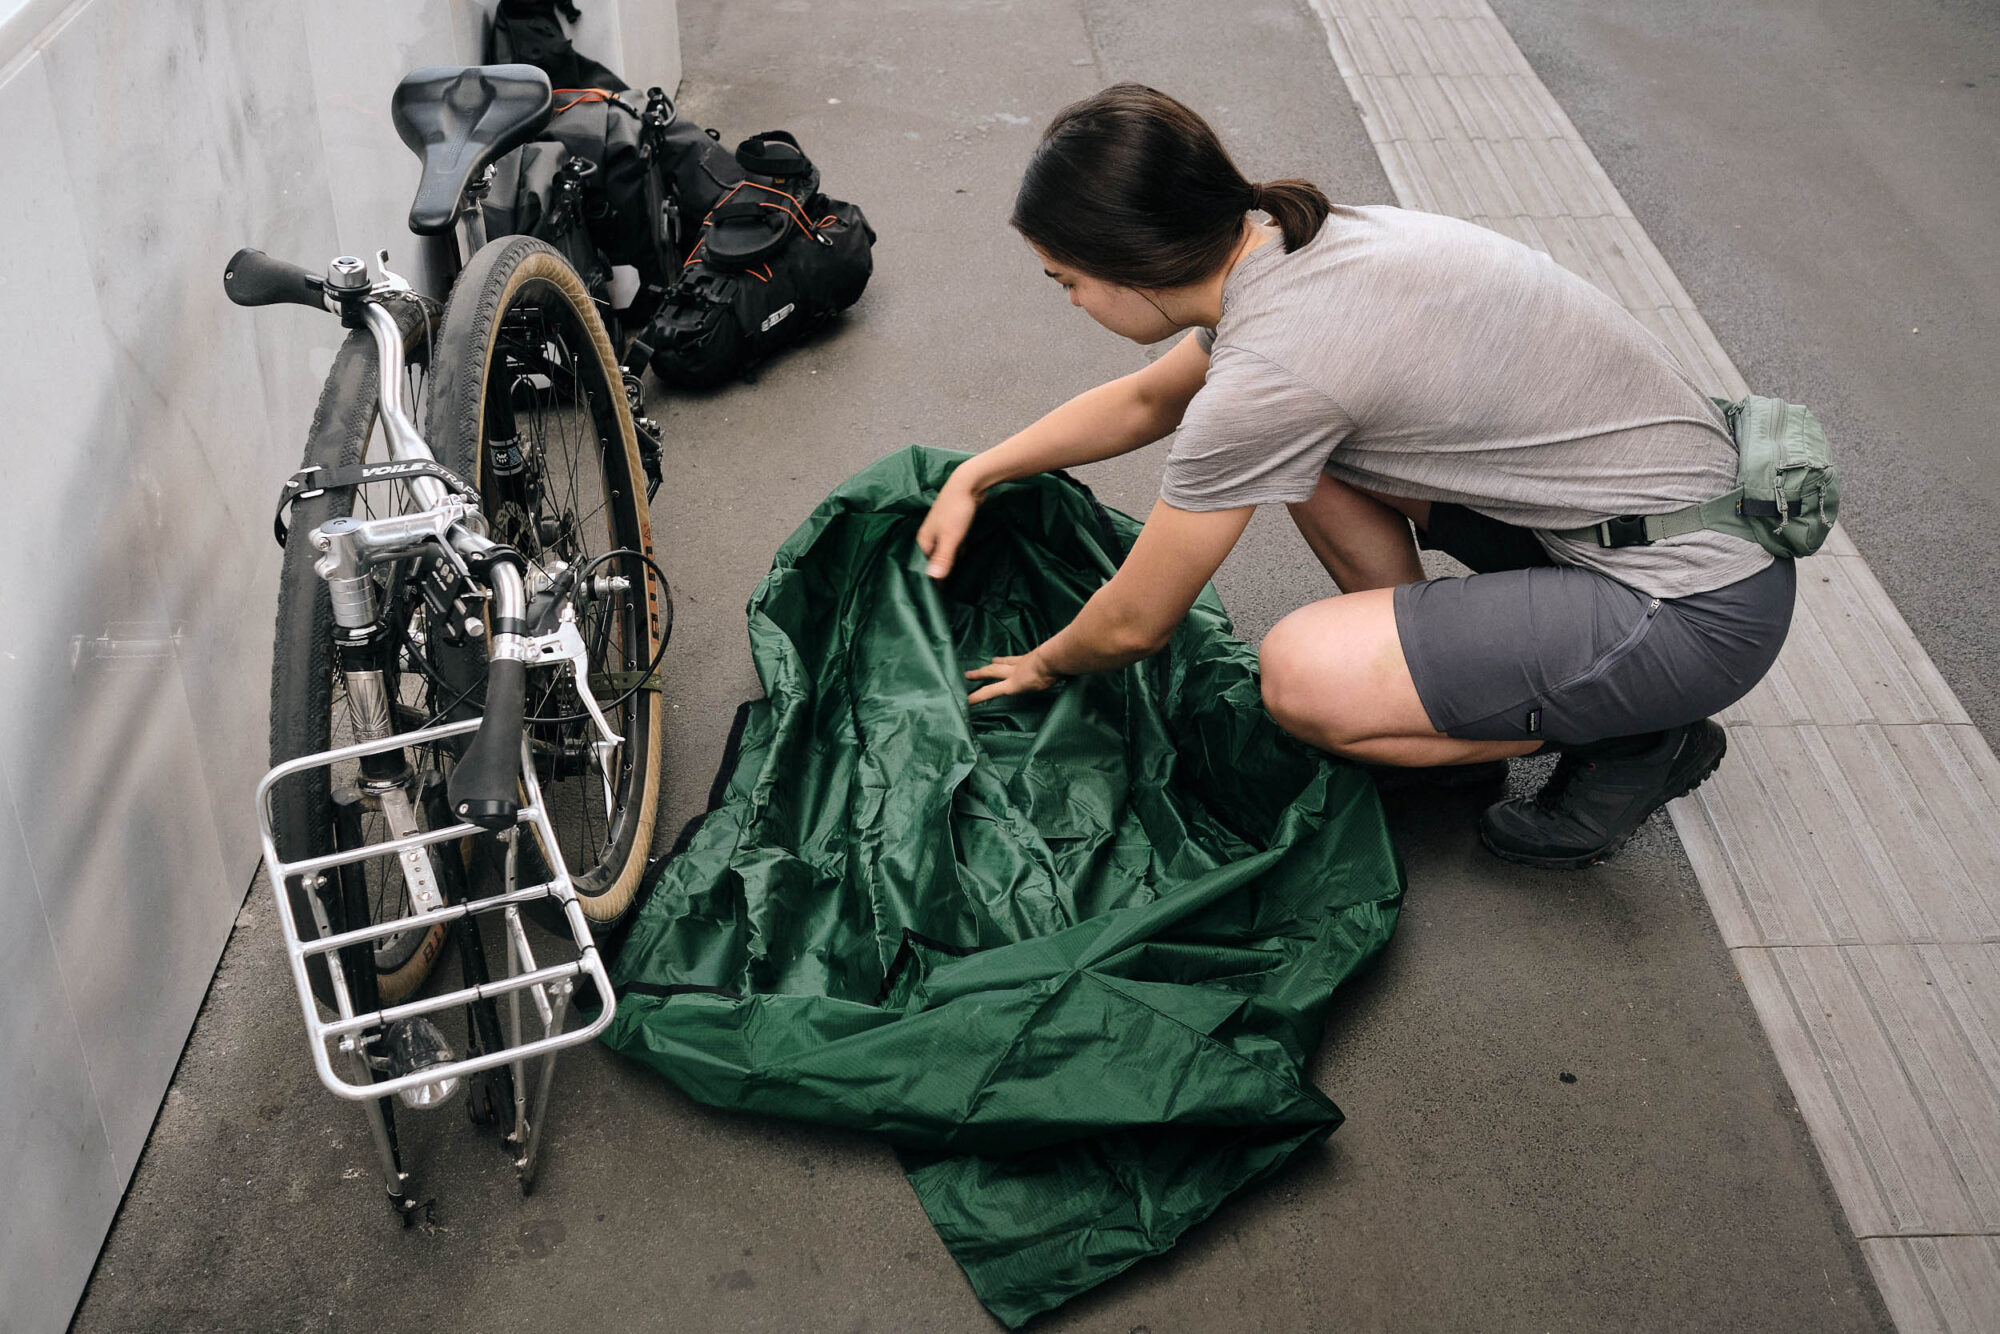
5. Spread out the rinko bag on the floor and place your bike sandwich onto it.
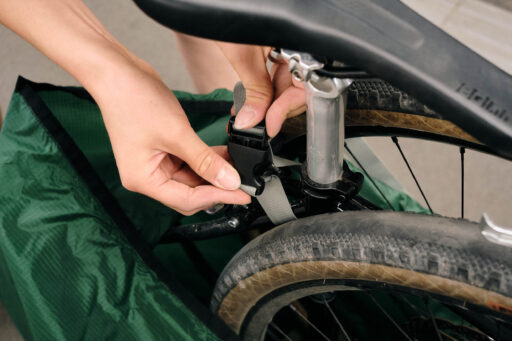
6. The straps form a loop around the front and rear of the frame.
7. Now close up the bag via velcro, and you are finished! Sweep the area to make sure you’re not leaving behind any axles or bolts. All aboard the rinko express!
Further Reading
Make sure to dig into these related articles for more info...
Please keep the conversation civil, constructive, and inclusive, or your comment will be removed.


